Amish White Bread Recipe (Soft, Fluffy Homemade Loaf)
This classic Amish White Bread recipe makes the softest, fluffiest homemade loaf you have ever tasted. Simple ingredients, easy steps, and bakery-worthy results every single time.

The Softest Homemade Loaf You Will Ever Pull From Your Oven
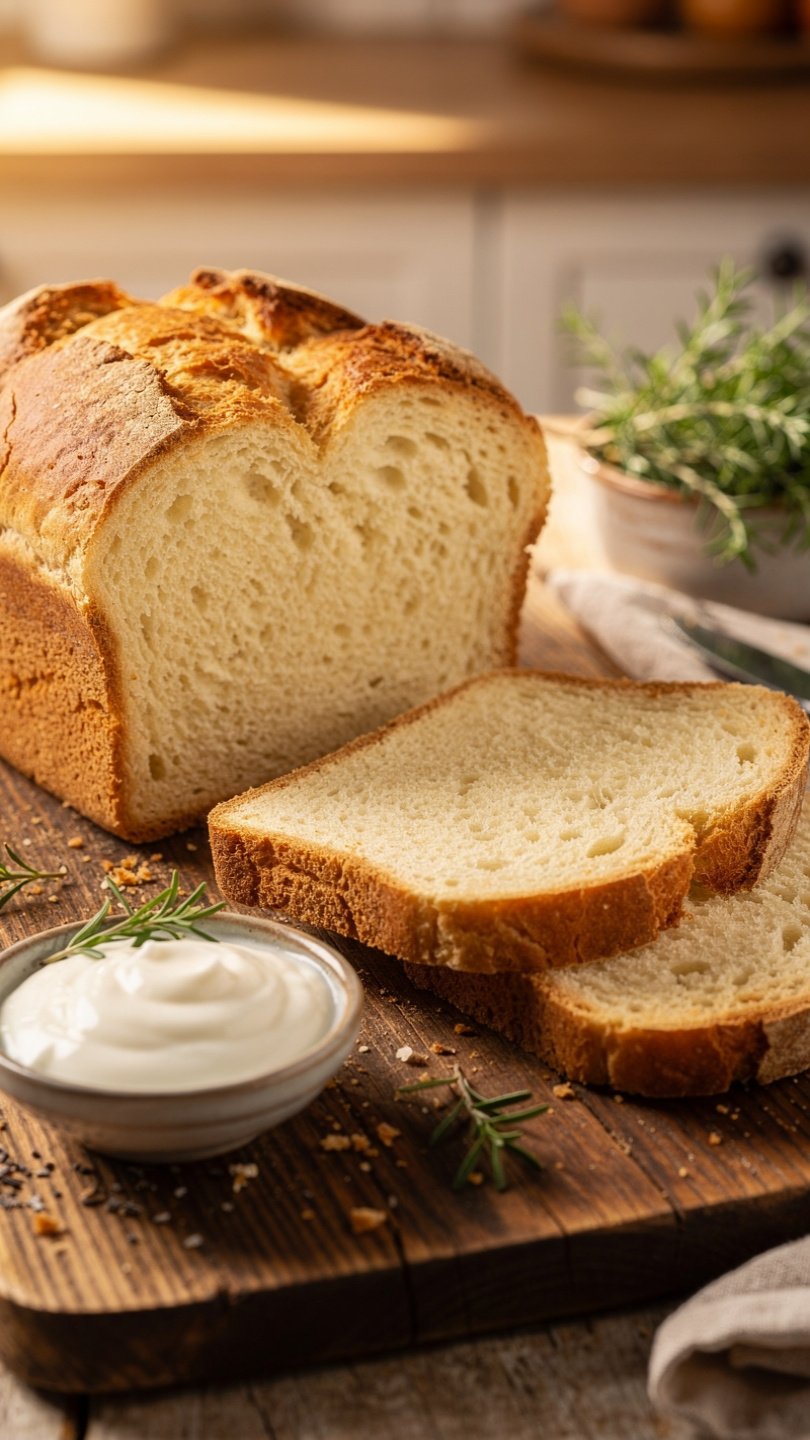
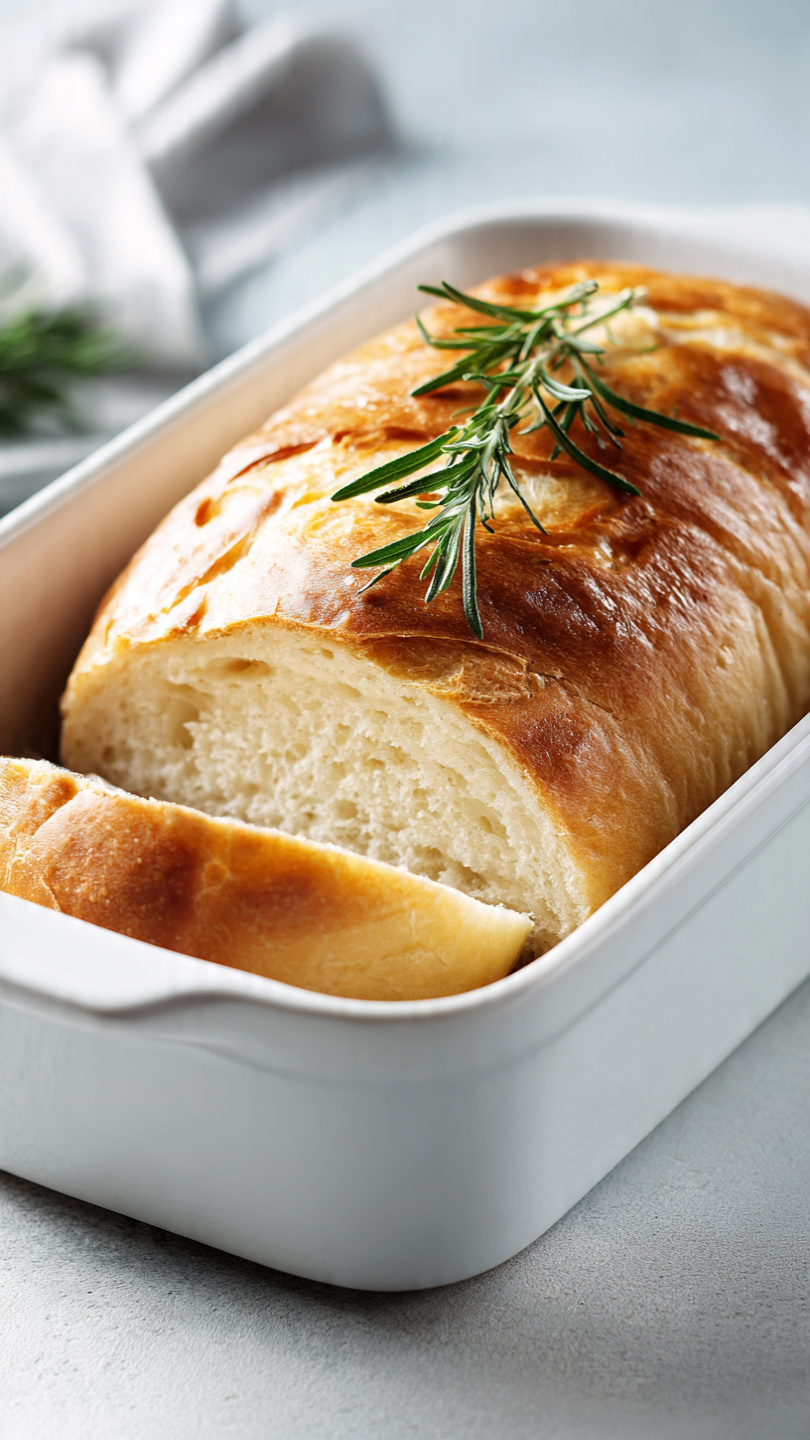
There is a reason this Amish White Bread recipe has been passed down through generations of home bakers. It is simple, honest, and absolutely delicious. Two pillowy golden loaves with a paper-thin crust, a buttery soft crumb, and just a whisper of sweetness. This is the kind of bread that makes your whole house smell incredible and disappears within hours of cooling on the rack.
Whether you call it Easy Amish Bread, Homemade Amish Bread, or simply "that bread everyone asks about," this recipe is one you will come back to every single week. No bread machine needed. No sourdough starter to babysit. Just warm water, yeast, flour, and a little patience.
Why This Is the Best Amish Bread Recipe
A lot of homemade white bread recipes exist, but the Amish White Bread Recipe Homemade stands apart for a few key reasons:
- The sugar ratio. Amish yeast bread uses slightly more sugar than a typical sandwich loaf, which feeds the yeast beautifully and gives the crumb its characteristic tender sweetness.
- The oil. Instead of butter, this recipe uses vegetable oil, which keeps the loaf incredibly moist for days.
- The double rise. Two full rises develop flavor and that signature fluffy, pull-apart texture that makes every slice irresistible.
This is not a fussy bread. It is forgiving, approachable, and produces bakery-worthy results even for first-time bread bakers.
Using the right tools makes a genuine difference when baking Amish Loaf Bread. A good heavy loaf pan ensures even browning, and an instant-read thermometer takes all the guesswork out of knowing when your loaf is perfectly done inside.
How To Make Amish Bread: Tips Before You Start
Before you dive in, a few quick tips will set you up for success:
Check your yeast first. This step is non-negotiable. Add your yeast and a spoonful of sugar to warm water and wait 10 minutes. You should see a foamy, fragrant mixture. If nothing happens, your yeast is dead and no amount of kneading will save the loaf.
Water temperature matters more than you think. Too cold and the yeast stays dormant. Too hot and you kill it entirely. Aim for 105°F to 115°F, which feels pleasantly warm on your wrist, not hot.
Knead until it passes the windowpane test. Stretch a small piece of dough between your fingers. If it stretches thin enough to let light through without tearing, the gluten is developed enough. This is your sign to stop kneading.
Chef's Tip: If your kitchen is cold, create a warm proofing environment by placing the covered dough bowl in your oven with just the oven light on. The gentle warmth is perfect for a reliable rise every time.
The Secret to That Classic Amish Loaf Texture
The hallmark of a great Amish White Bread Recipe is the crumb: fine, even, slightly chewy, and impossibly soft. Here is how to protect that texture:
- Do not add too much flour. The dough should be tacky, not sticky, but not stiff. A slightly sticky dough makes a softer loaf.
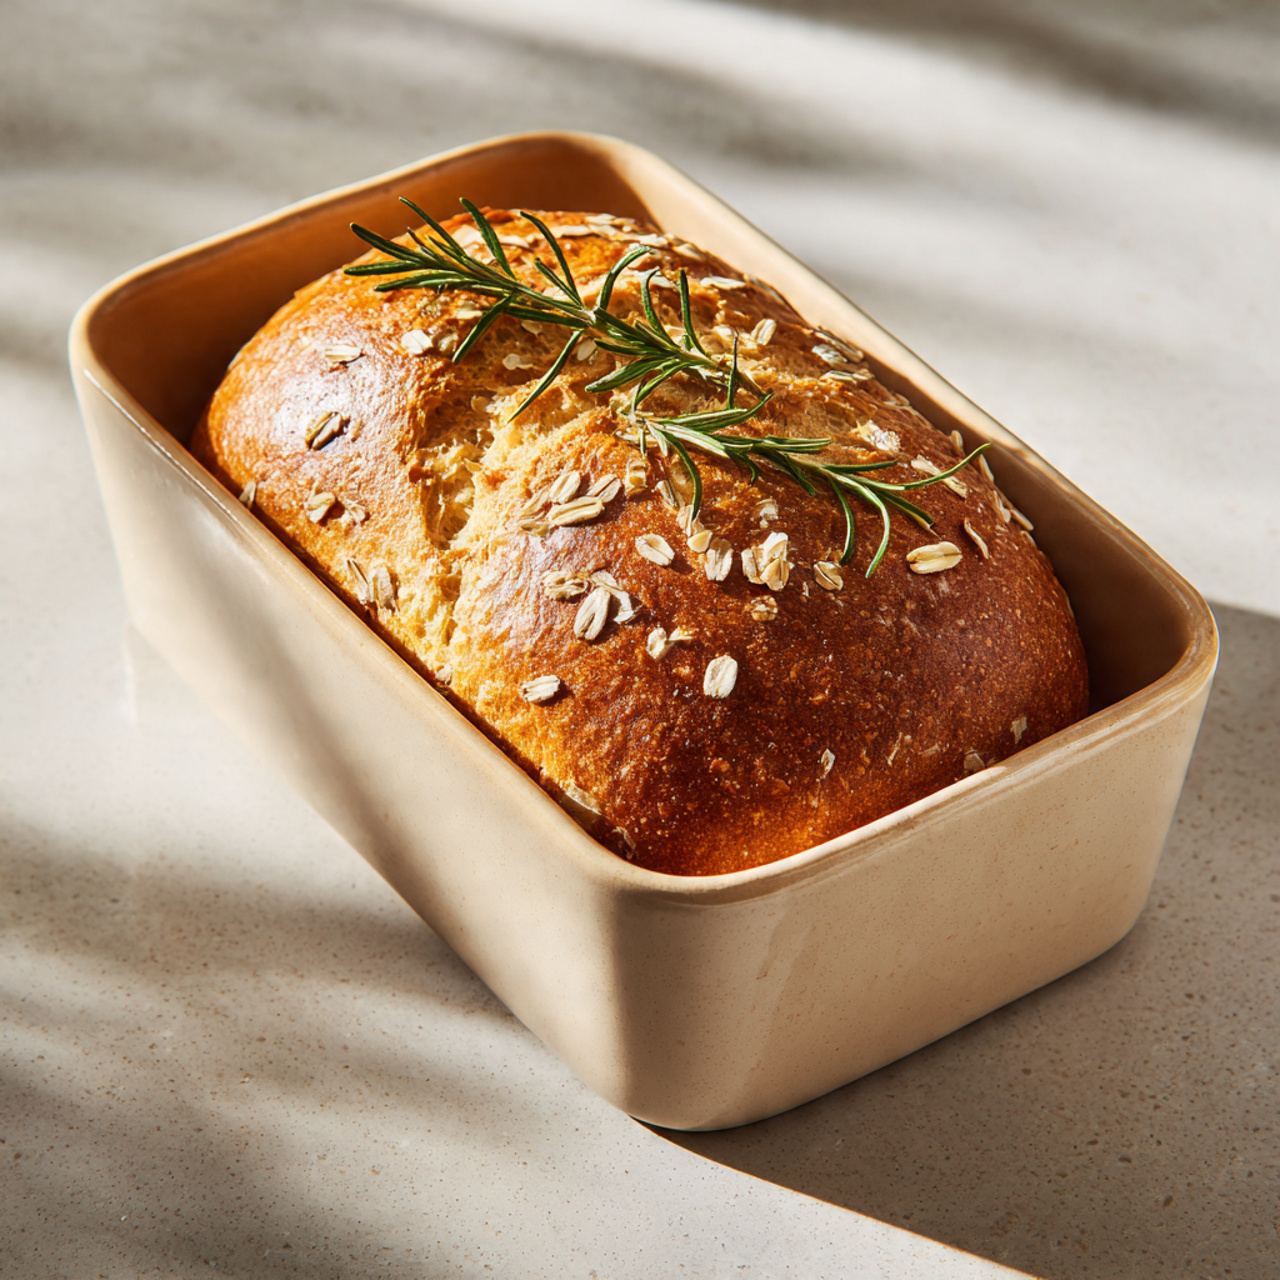
- Let the second rise go fully. That 30-minute crown above the pan rim is what gives you that beautiful domed top.
- Brush with butter immediately out of the oven. This softens the crust and adds richness that takes the loaf from good to unforgettable.
Once you make this Amish Yeast Bread at home, store-bought sandwich bread will never measure up again.
Ready to bake two gorgeous loaves? Here is the full recipe:
Amish White Bread Recipe (Soft, Fluffy Homemade Loaf)
This classic Amish White Bread recipe makes the softest, fluffiest homemade loaf you have ever tasted. Simple ingredients, easy steps, and bakery-worthy results every single time.
Ingredients
- 2 cups warm water, between 105-115°F to properly activate the yeast
- 5/8 tbsp active dry yeast, two standard 0.25 oz packets
- 5/8 cups white granulated sugar, divided; feeds the yeast and adds a subtle sweetness
- 1/4 cups vegetable oil, canola oil works well too
- 1 1/2 tsp salt
- 6 cups bread flour or all-purpose flour, spooned and leveled; bread flour gives a slightly chewier crumb
Instruction
In a large mixing bowl, combine the warm water (105-115°F), yeast, and 1 tablespoon of the sugar. Stir gently and let sit for 5 to 10 minutes until the mixture is foamy and fragrant. If it does not foam, your yeast may be expired or your water too hot.
Add the remaining sugar, vegetable oil, and salt to the yeast mixture. Stir to combine.
Add the flour one cup at a time, stirring after each addition. Once the dough becomes too thick to stir, turn it out onto a lightly floured surface.
Knead the dough for 8 to 10 minutes until it is smooth, elastic, and only slightly tacky. It should spring back slowly when you poke it.
Place the dough in a lightly oiled bowl, turning once to coat. Cover with a clean kitchen towel or plastic wrap and let it rise in a warm, draft-free spot for 1 hour, or until doubled in size.
Punch down the risen dough and divide it evenly into two portions. Shape each portion into a smooth loaf by flattening it into a rectangle, rolling it up tightly, and pinching the seam closed.
Place each loaf seam-side down into two greased 9x5 inch loaf pans. Cover loosely and let rise for another 30 minutes, until the dough crowns about 1 inch above the rim of the pans.
Preheat your oven to 350°F (175°C) while the dough completes its second rise.
Bake for 25 to 30 minutes, until the tops are deep golden brown and the loaves sound hollow when tapped on the bottom. An instant-read thermometer inserted in the center should read 190-200°F.
Remove from the oven and let cool in the pans for 5 minutes, then transfer to a wire rack. Brush the tops with a little softened butter while still warm for a glossy, soft crust. Allow to cool for at least 20 minutes before slicing.
Equipment
- Two 9x5 inch loaf pans
- Large mixing bowl
- Stand mixer with dough hook (optional)
- Kitchen towel or plastic wrap
- Wire cooling rack
- Instant-read thermometer
- Pastry brush
Notes
Serving, Storing, and Variations
How to serve it: This Homemade Amish Bread is spectacular warm with salted butter, used for thick-cut toast, layered into a BLT, or served alongside a bowl of soup. It also makes phenomenal French toast the next morning.
Storage: Wrap cooled loaves tightly in plastic wrap and store at room temperature for up to 4 days. The oil in the dough keeps it from drying out quickly.
Freezing: Slice one loaf and freeze the slices in a zip-top bag for up to 3 months. Pull out individual slices and toast them straight from frozen.
Variations to try:
- Swap half the all-purpose flour for whole wheat flour for a heartier loaf
- Add 2 tablespoons of honey in place of part of the sugar for a richer flavor
- Brush with garlic butter and sprinkle with herbs for a savory pull-apart loaf
This is truly one of those recipes that earns a permanent spot in your baking rotation.