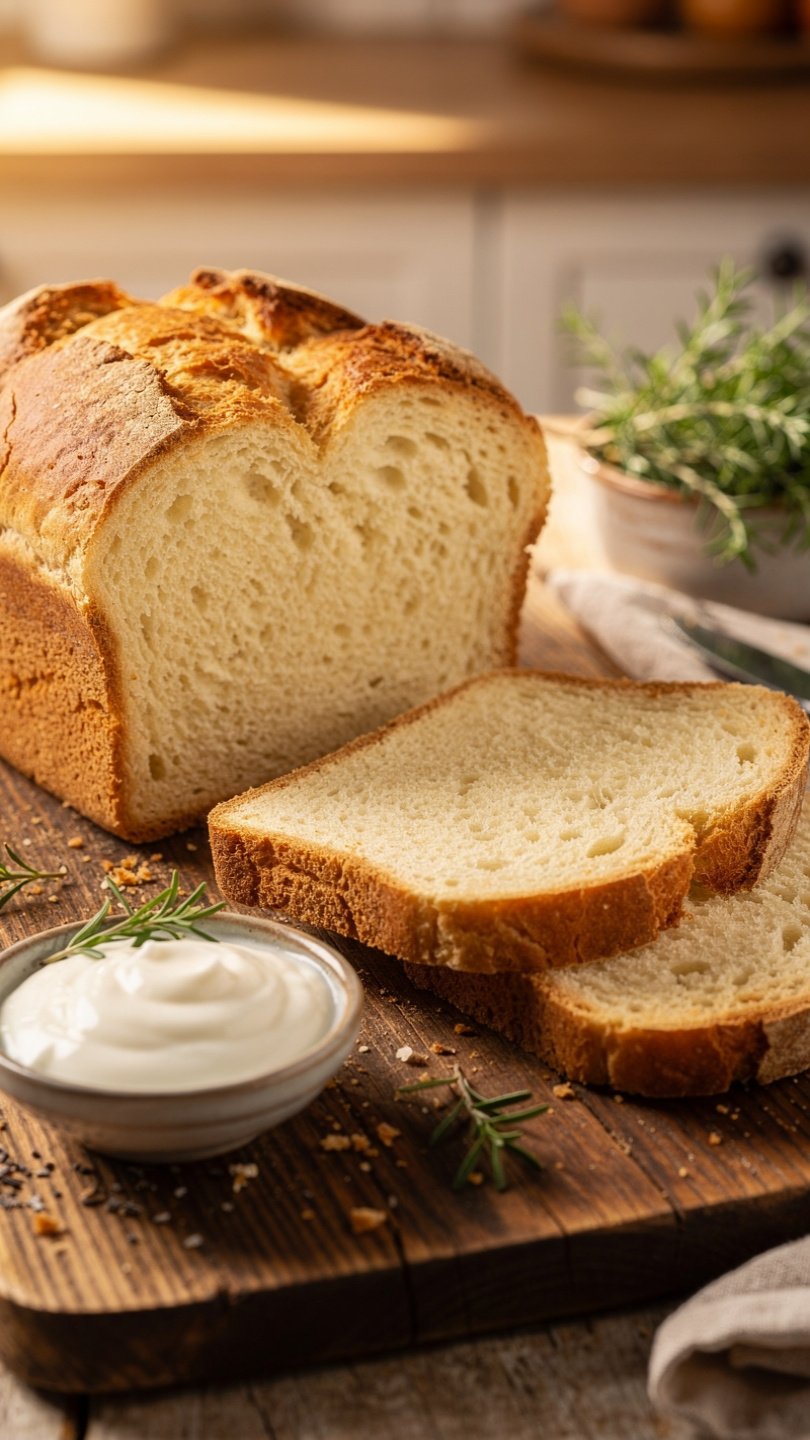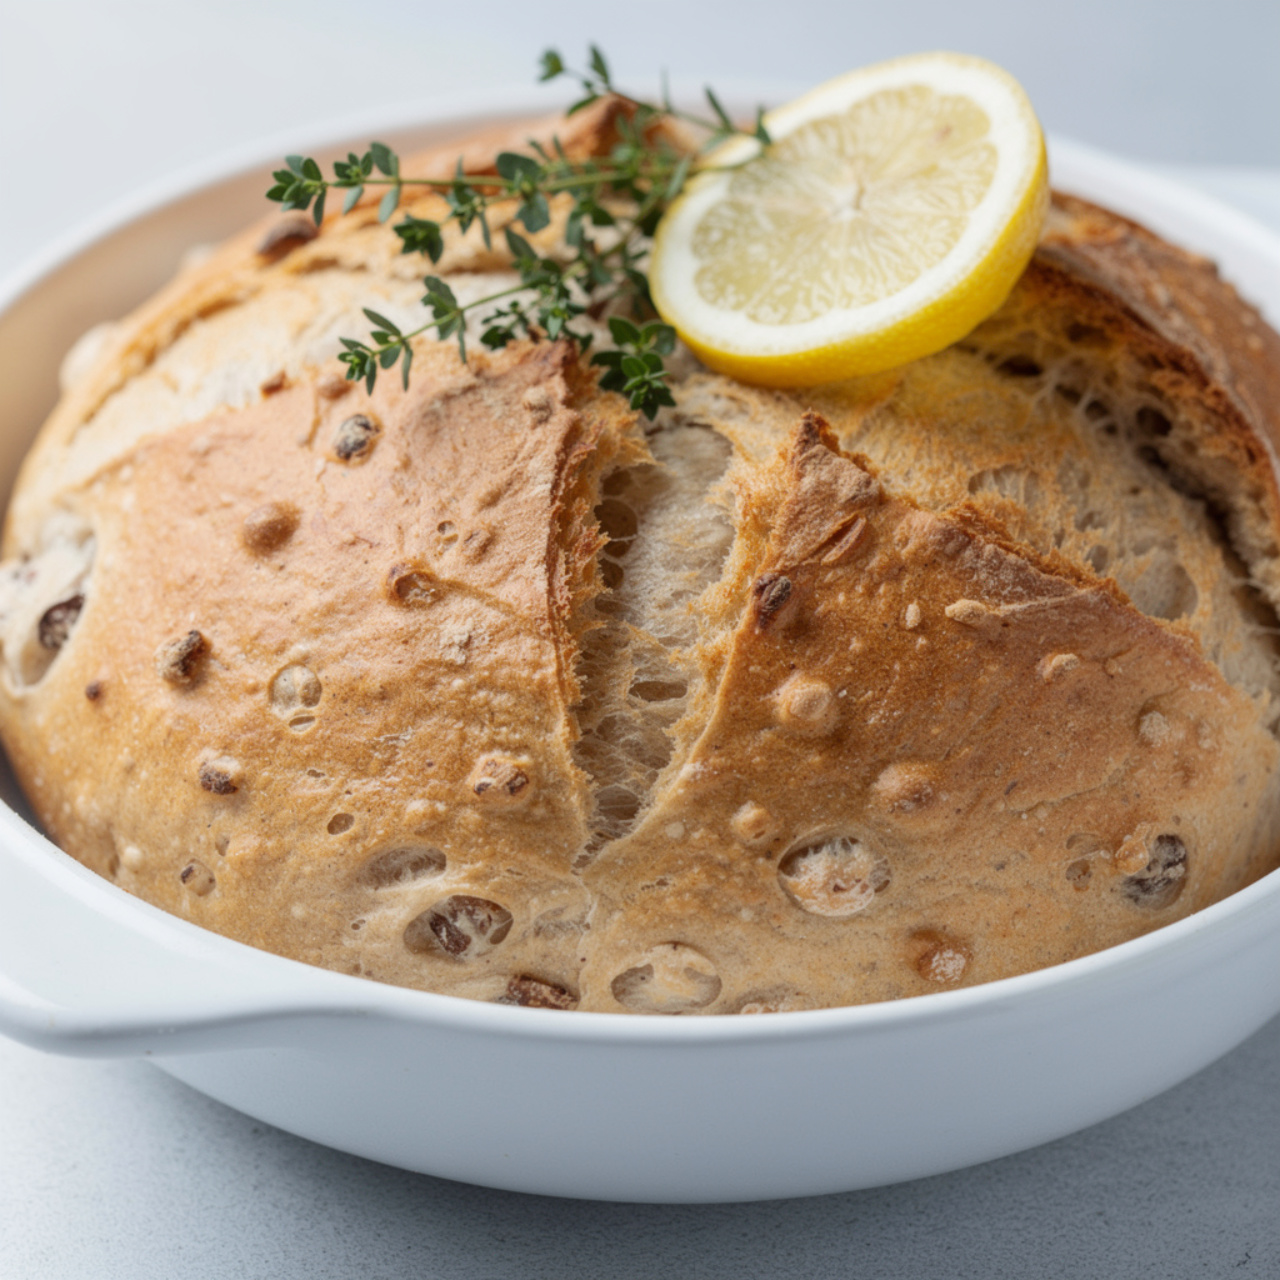
Sourdough Discard Bread (Easy Sandwich Loaf)
This easy sourdough discard bread bakes into a soft, tangy sandwich loaf with a golden crust and tender crumb, using up your leftover starter with zero waste.

The Best Thing to Do With Sourdough Discard (Besides Pancakes)
If you keep a sourdough starter, you know the guilt. Every few days, you scoop out a portion before feeding, and that pile of unfed, bubbly discard sits in the fridge staring at you. Pancakes and crackers are wonderful, but sometimes you want something more substantial. Something you can slice, slather with butter, and actually call a proper loaf of bread.
This sourdough discard bread is exactly that. It is a soft, golden sandwich loaf with a gently tangy flavor, a tender crumb, and a crust that crackles just enough when you cut into it. It is the kind of bread that makes your kitchen smell like a proper bakery, and it is genuinely approachable for beginners.
Unlike a traditional long-fermented sourdough loaf that can take 24 to 48 hours, this quick sourdough discard bread uses a small amount of active dry yeast alongside the starter discard to keep things reliable and manageable. You get all of that complex, slightly sour flavor without waiting two days or worrying about whether your starter is strong enough to carry the whole rise on its own. It is the best of both worlds.
Using the right flour makes a real difference in the texture of this loaf, and a sturdy, well-seasoned 9x5 inch loaf pan ensures even baking and a beautifully domed top. These are the tools and ingredients that consistently deliver the best results:
Why This Recipe Works for Beginners
A lot of beginner sourdough loaf recipes assume your starter is active, mature, and ready to provide 100 percent of the rise. That puts a lot of pressure on new bakers and can lead to flat, dense loaves that are discouraging. This recipe is different.
By adding a packet of commercial yeast to the mix, you get:
- A guaranteed, predictable rise no matter how old or tired your discard is
- Flexible timing so you are not tied to your starter's schedule
- Real sourdough flavor from the discard itself, which adds tang, depth, and complexity
- A soft, sliceable crumb that holds up well for sandwiches, toast, or just eating warm with butter
This is genuinely the most practical easy sourdough discard sandwich bread recipe you will find, and once you make it once, you will never look at your discard jar the same way again.
Chef's Tip: The key to a soft sandwich loaf crumb is not overbaking it. Pull the bread when it hits an internal temperature of 195 to 200 degrees F. An instant-read thermometer takes all the guesswork out of it and is worth every penny.
Tips for the Perfect Sourdough Discard Sandwich Loaf
Getting the Dough Consistency Right
This dough should feel smooth and slightly tacky, not dry and stiff. If it sticks aggressively to your hands, add flour one tablespoon at a time. If it feels tight and tears when you stretch it, it needs more kneading. A properly kneaded dough will pass the windowpane test: stretch a small piece gently between your fingers and it should become thin and translucent without tearing.
Shaping Matters More Than You Think
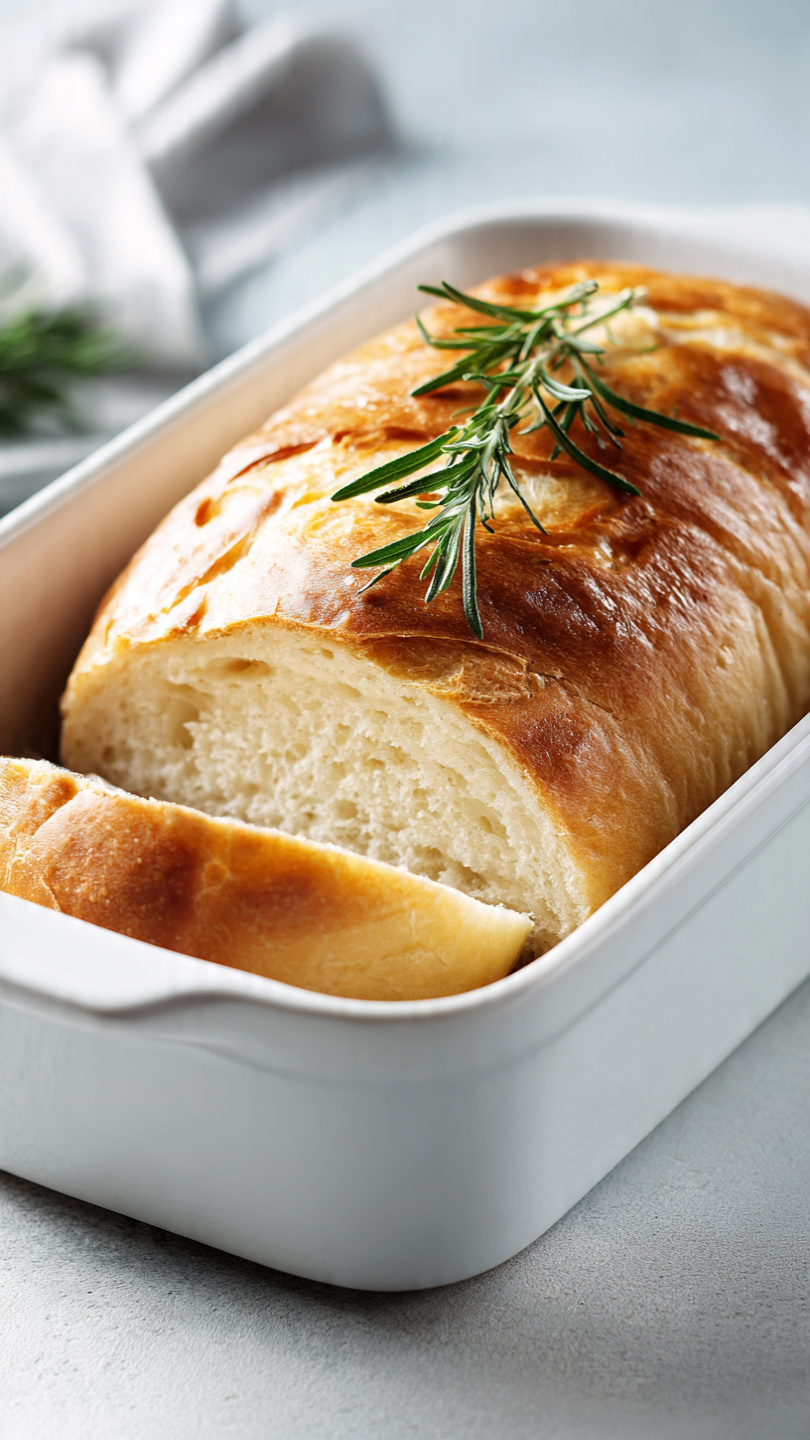
A tight, even shape prevents large air gaps in the finished loaf and gives you those even, sandwich-friendly slices. Flatten the dough into a rectangle, roll it tightly toward you like a jelly roll, and pinch that seam firmly shut before dropping it seam-side down into the pan.
Let It Cool. Seriously.
This is the hardest part. Cutting into a fresh, hot loaf is deeply tempting, but the crumb is still setting as it cools. Slicing too early creates a gummy, doughy texture in the center. Give it a full hour on the wire rack. It is worth the wait.
Flavor Variations Worth Trying
Once you have the base sourdough discard sandwich bread recipe down, it is incredibly easy to customize:
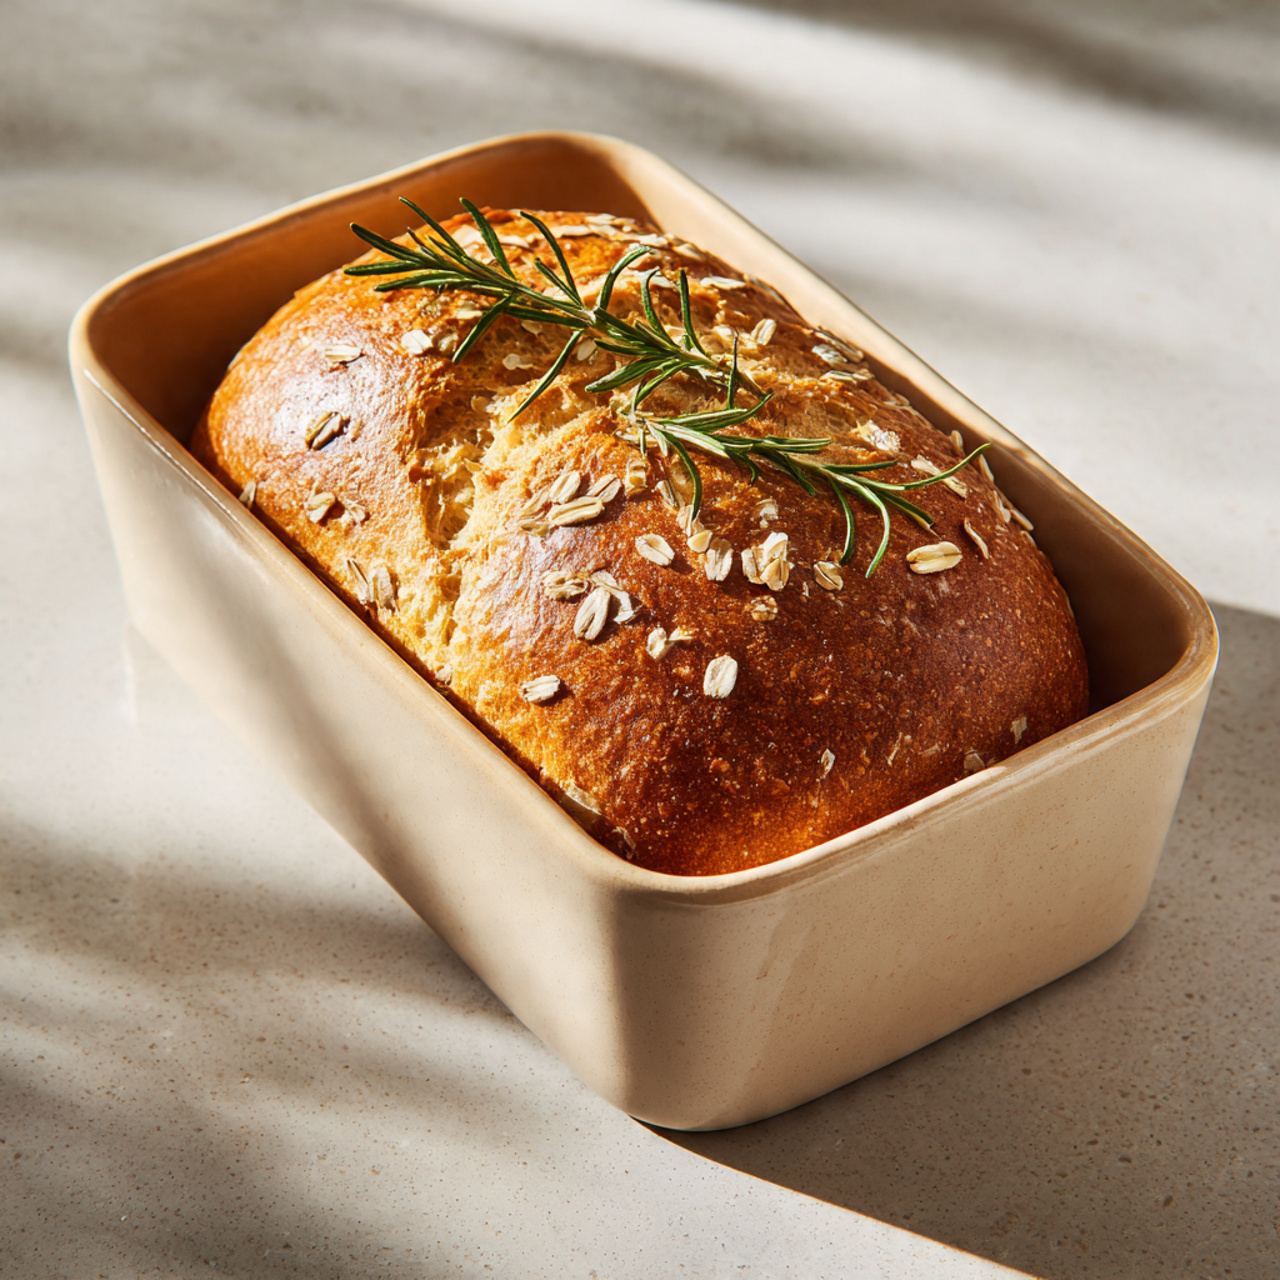
- Seeded loaf: Press sesame seeds, poppy seeds, or everything bagel seasoning onto the top before baking
- Herb and garlic: Mix 1 teaspoon of garlic powder and 2 tablespoons of chopped fresh rosemary into the dough
- Honey wheat: Swap half the all-purpose flour for whole wheat flour and replace the sugar with 2 tablespoons of honey
- Milk bread style: Use all whole milk in place of the water for an even softer, richer crumb
All of these variations follow the same timeline and technique as the base recipe.
Ready to put that discard to work? Here is the full step-by-step recipe:
Sourdough Discard Bread (Easy Sandwich Loaf)
This easy sourdough discard bread bakes into a soft, tangy sandwich loaf with a golden crust and tender crumb, using up your leftover starter with zero waste.
Ingredients
- 1 cup sourdough starter discard, unfed, at room temperature
- 1/2 cup warm water, about 110 degrees F
- 1/4 cup warm whole milk, can substitute with oat milk
- 2 1/4 tsp active dry yeast, one standard packet
- 2 tbsp granulated sugar, helps activate the yeast
- 1 1/2 tsp fine sea salt
- 3 cups all-purpose flour, spooned and leveled, plus more for kneading
- 1/2 cup bread flour, adds chew and structure
- 2 tbsp unsalted butter, softened to room temperature
- 1 tbsp neutral oil, for greasing the bowl and pan
Instruction
In a small bowl, combine the warm water, warm milk, and sugar. Sprinkle the yeast over the top and stir gently. Let it sit for 5 to 10 minutes until foamy and fragrant. If it does not foam, your yeast may be expired.
In the bowl of a stand mixer fitted with the dough hook, combine the sourdough discard, foamy yeast mixture, salt, softened butter, all-purpose flour, and bread flour. Mix on low speed for 2 minutes until a shaggy dough forms.
Increase the mixer speed to medium and knead for 8 to 10 minutes until the dough is smooth, slightly tacky, and pulls cleanly away from the sides of the bowl. If kneading by hand on a lightly floured surface, work the dough for about 12 minutes.
Lightly oil a large bowl. Transfer the dough to the bowl, turning once to coat. Cover loosely with plastic wrap or a clean kitchen towel and let rise in a warm spot for 1 to 1.5 hours, or until doubled in size.
Punch the dough down gently and turn it out onto a lightly floured surface. Flatten it into a rough rectangle about as wide as your 9x5 inch loaf pan. Tightly roll the dough into a log, pinch the seam shut, and tuck the ends under.
Lightly grease a 9x5 inch loaf pan with oil or butter. Place the shaped dough seam-side down into the pan. Cover loosely and let rise again for 45 to 60 minutes until the dough crowns about 1 inch above the rim of the pan.
While the dough is doing its second rise, preheat your oven to 375 degrees F (190 degrees C).
Bake the loaf for 38 to 45 minutes, tenting loosely with aluminum foil after the first 20 minutes if the top is browning too quickly. The bread is done when it is deep golden brown and sounds hollow when tapped on the bottom, or registers 195 to 200 degrees F on an instant-read thermometer.
Remove the loaf from the pan immediately and transfer to a wire cooling rack. Allow it to cool for at least 1 hour before slicing. Cutting too early causes the crumb to become gummy.
Equipment
- Stand mixer with dough hook (or large mixing bowl for hand kneading)
- 9x5 inch loaf pan
- Instant-read thermometer
- Wire cooling rack
- Plastic wrap or kitchen towel
- Pastry brush (optional, for egg wash)
Notes
Serving, Storing, and Freezing
This loaf is wonderful still slightly warm with salted butter, but it really shines the next day once the crumb has fully set and the flavor has deepened. Use it for turkey sandwiches, avocado toast, grilled cheese, or classic PB and J.
Storing: Wrap the cooled loaf in beeswax wrap or place it in an airtight zip-top bag. It keeps at room temperature for up to 3 days. Avoid the refrigerator as it accelerates staling.
Freezing: Slice the entire loaf before freezing so you can pull out individual pieces as needed. Layer parchment between slices to prevent sticking, seal in a freezer bag, and freeze for up to 2 months. Toast directly from frozen.
Whether you are looking for a sourdough discard sandwich loaf for weekly meal prep or a beginner sourdough loaf recipe that actually works every single time, this bread delivers. It is the kind of recipe that quickly becomes a household staple, and the best possible answer to the eternal question: what do I do with all this discard?