Sourdough Croissant Bread (The Flaky, Buttery Loaf You Never Knew You Needed)
This sourdough croissant bread combines the tangy depth of a classic sourdough loaf with the shatteringly flaky, buttery layers of a croissant. It is the ultimate weekend bake that looks impressive and tastes absolutely extraordinary.

The Bread That Broke My Brain (In the Best Possible Way)
If someone had told me a year ago that I would be baking a sourdough croissant bread on a Saturday morning and crying tears of buttery joy, I would not have believed them. But here we are. This loaf is exactly what it sounds like: the deeply tangy, open-crumbed soul of a sourdough loaf wrapped up in the shatteringly flaky, richly laminated layers of a croissant. It is sometimes called a croissant sourdough loaf, a sourdough crescent bread, or, in our house, simply "the good bread."
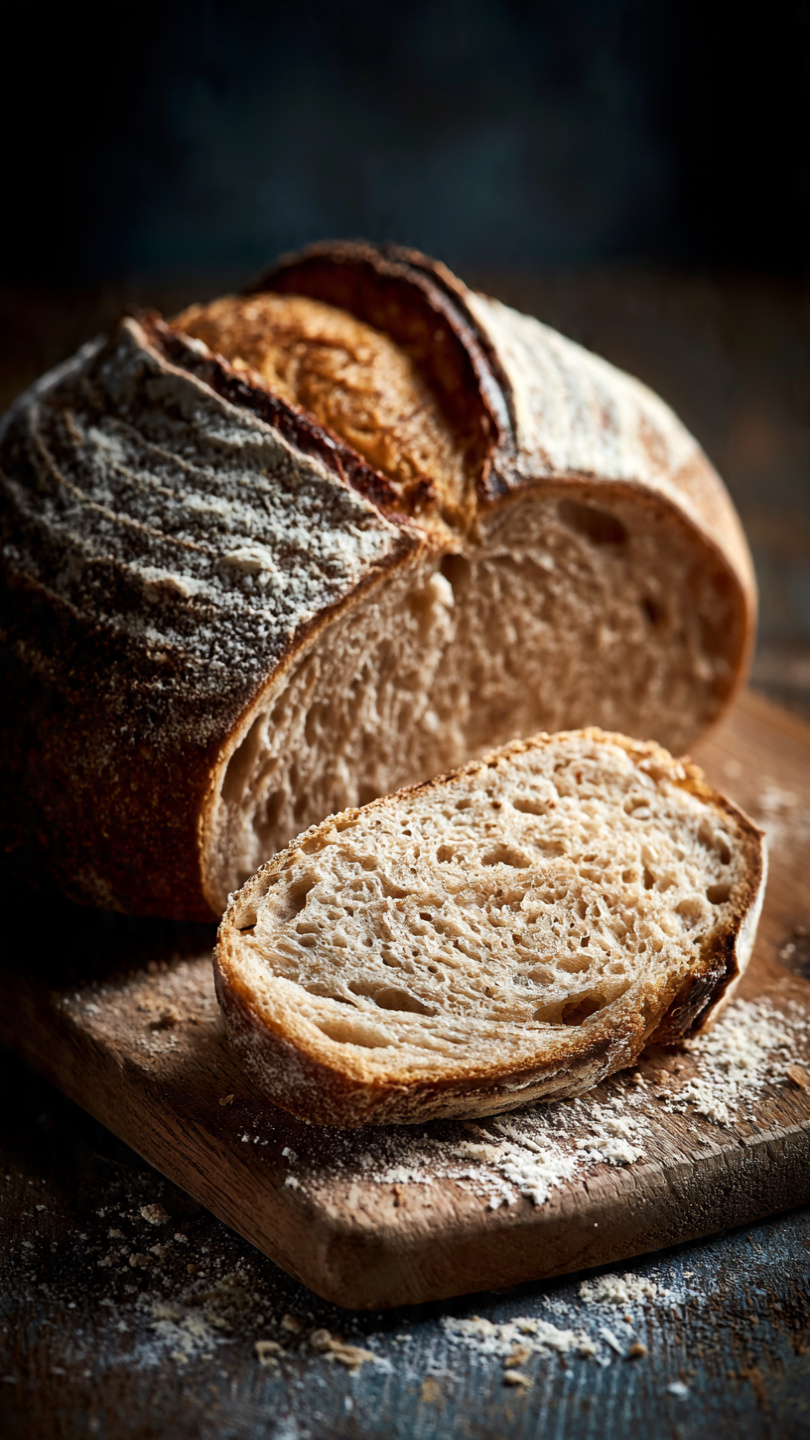
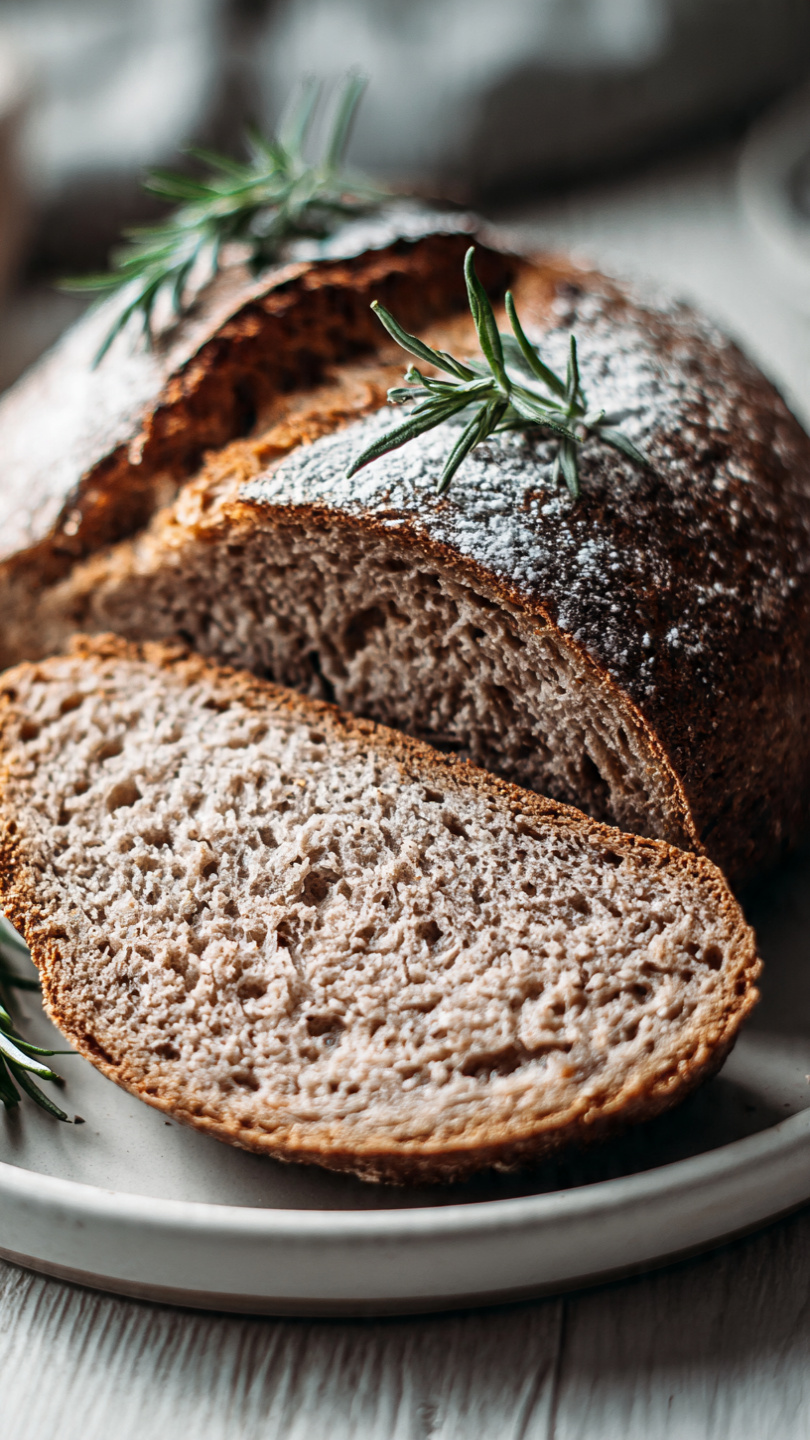
It is a weekend project, no question about it. But it is also the kind of bake that makes you feel like an absolute genius when you pull it from the oven. The golden crust crackles when you press it. The inside unravels into glossy, honeyed layers when you slice through it. It smells like a Parisian bakery and a cozy farmhouse kitchen had a beautiful, floury baby.
Why This Recipe Works
The magic here is in the lamination process, which is the same technique used to make classic croissants. You fold cold butter into the dough repeatedly, creating hundreds of distinct paper-thin layers that puff and shatter in the oven. When you combine that technique with a live sourdough starter instead of commercial yeast, you get something genuinely special: complexity, tang, and a depth of flavor that a plain enriched dough simply cannot replicate.
A few things that make this recipe succeed where others fall flat:
- European-style butter has a higher fat content than standard American butter, which means it stays pliable during lamination without cracking or breaking through the dough.
- Bread flour gives the dough enough structure to hold up to repeated folding without tearing.
- A long cold proof does double duty: it keeps the butter firm for lamination and develops that signature sourdough tang overnight.
This is also a fantastic sourdough recipe idea for bakers who are tired of the same rustic boule and want to try something that feels genuinely exciting and new.
Using the right tools really does make a difference when you are working with laminated dough. A sturdy rolling pin, a reliable instant-read thermometer, and high-quality European-style butter are the three investments that will take this loaf from good to extraordinary.
The Starter: Your Most Important Ingredient
Before anything else, your sourdough starter needs to be active, bubbly, and at peak. This is not a recipe that forgives a sluggish starter. If your starter has been sitting in the back of the fridge for three weeks without a feeding, wake it up with two or three daily feedings before you plan to bake.
You will know your starter is ready when:
- It has doubled or nearly doubled in size since its last feeding
- It smells pleasantly tangy and yeasty, not sharp or acetone-like
- A small spoonful dropped into water floats to the top
Chef's Tip: If you are working with sourdough discard instead of active starter, you can still make this recipe work by adding a small amount of instant yeast to compensate. But the flavor will be noticeably milder. For the full sour dough croissant bread experience, an active starter is worth the wait.
How to Laminate the Dough Without Losing Your Mind
Lamination sounds intimidating, but it is really just a series of folds with a chill break in between. Here is how to think about it:
- Keep everything cold. If the butter starts to melt into the dough instead of staying in distinct layers, pop the whole thing back in the fridge for 20 minutes and start again.
- Roll gently and evenly. You are not trying to squash the dough. Use smooth, even strokes from the center outward.
- Do not skip the rest periods. Each 30-minute chill between folds lets the gluten relax and keeps the butter from warming up too much.
The result of all this folding is a dough that, when you slice the baked loaf, reveals stunning ribbons of golden, flaky layers running through the crumb. It is the visual payoff that makes the whole process worth it.
This is also the stage where you can add sourdough loaf add-ins. Scatter shredded Gruyere, fresh thyme, or roasted garlic over the dough surface right before you roll it into a log for an incredible savory variation.
Ready to bake your new favorite loaf? Here is everything you need, laid out in full:
Sourdough Croissant Bread (The Flaky, Buttery Loaf You Never Knew You Needed)
This sourdough croissant bread combines the tangy depth of a classic sourdough loaf with the shatteringly flaky, buttery layers of a croissant. It is the ultimate weekend bake that looks impressive and tastes absolutely extraordinary.
Ingredients
- 3 1/2 cups bread flour, plus more for dusting
- 1/2 cup active sourdough starter, fed and bubbly, at peak activity
- 3/4 cup whole milk, warm, around 90 degrees F
- 2 tbsp granulated sugar
- 1 1/2 tsp fine sea salt
- 1 large egg, room temperature, for the dough
- 1 cup unsalted European-style butter, cold, cut into thin slabs for lamination
- 2 tbsp unsalted butter, softened, for initial dough enrichment
- 1 large egg, beaten with 1 tbsp milk, for egg wash
- 1/2 tsp flaky sea salt, for topping, optional but highly recommended
Instruction
Make the dough: In a large bowl, whisk together the warm milk, active sourdough starter, egg, and sugar until well combined. Add the bread flour and salt, then mix until a shaggy dough forms. Knead by hand for 6 to 8 minutes, or use a stand mixer with a dough hook on medium speed for 5 minutes, until the dough is smooth and elastic. Add the 2 tablespoons of softened butter and continue kneading until fully incorporated, about 3 more minutes.
First rise: Shape the dough into a ball, place it in a lightly oiled bowl, cover with plastic wrap, and let it rise at room temperature for 4 to 5 hours until noticeably puffed (it may not double, and that is okay). Then transfer to the refrigerator and cold-proof overnight, or for at least 8 hours and up to 18 hours.
Prepare the butter block: Arrange the cold butter slabs between two sheets of parchment paper. Using a rolling pin, pound and roll the butter into a flat, even rectangle approximately 7 by 5 inches. Refrigerate until firm but still pliable, about 15 minutes.
Laminate the dough (first fold): Remove the cold dough from the refrigerator and roll it out on a lightly floured surface into a rectangle roughly 14 by 8 inches. Place the butter block in the center. Fold the dough over the butter like a letter: bring one short end to the center, then fold the other short end on top. Rotate 90 degrees, then roll out again to a 14 by 8 inch rectangle. Perform a second letter fold. Wrap tightly in plastic and refrigerate for 30 minutes.
Laminate the dough (second and third folds): Repeat the rolling and letter-folding process two more times, chilling the dough for 30 minutes between each fold, for a total of 4 folds. After the final fold, refrigerate the dough for at least 1 hour.
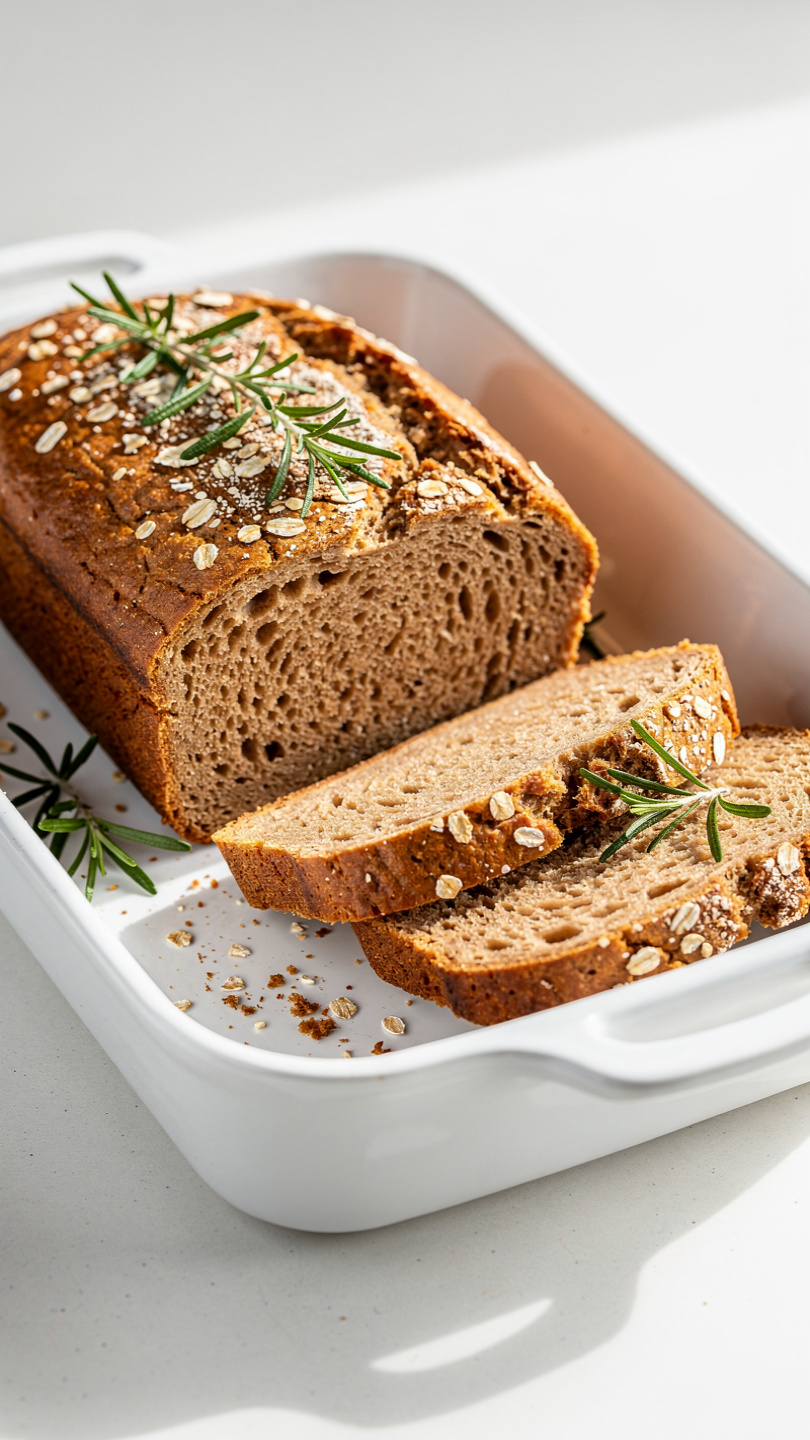
Shape the loaf: Remove the dough from the refrigerator and roll it out into a large rectangle about 12 by 9 inches. Starting from one of the long edges, roll the dough up tightly into a log, like a jelly roll. Pinch the seam shut. Place the log seam-side down into a lightly greased 9 by 5 inch loaf pan.
Final proof: Loosely cover the pan with plastic wrap and let the loaf proof at room temperature for 3 to 5 hours, until it has risen about 1 inch above the rim of the pan and looks puffy when gently pressed with a floured finger.
Preheat and bake: About 30 minutes before baking, preheat your oven to 375 degrees F (190 degrees C). Brush the top of the loaf generously with egg wash and sprinkle with flaky sea salt if using. Bake for 35 to 40 minutes, until the crust is a deep, burnished golden brown and an instant-read thermometer inserted into the center reads 200 degrees F (93 degrees C).
Cool completely: Transfer the loaf to a wire rack and let it cool for at least 45 minutes before slicing. Cutting too early will cause the layers to compress and the crumb to gum up. Patience is the secret ingredient here.
Equipment
- Large mixing bowl
- Stand mixer with dough hook (optional but helpful)
- Rolling pin
- Parchment paper
- Plastic wrap
- 9x5 inch loaf pan
- Pastry brush
- Instant-read thermometer
- Wire cooling rack
- Bench scraper
Notes
Serving, Storing, and Showing Off
Once your loaf has cooled (please, please let it cool fully), the possibilities are wonderful. Here is how we love to eat it:
- Toasted with salted butter and honey for breakfast. There is nothing better.
- Sliced thick alongside a bowl of tomato soup for the ultimate cozy lunch.
- As the base for a next-level grilled cheese with Gruyere and caramelized onions.
- Plain, standing over the cutting board, because you earned it.
For storage, wrap the loaf tightly and keep it at room temperature for up to two days. To freeze, slice the loaf first, freeze pieces flat on a baking sheet, then transfer to a freezer bag. They toast beautifully from frozen and make sourdough discard meals feel impossibly luxurious on a weeknight.
Whether you have been following along with sourdough recipe ideas for years or this is your very first laminated dough, this crossaint sourdough loaf is the kind of recipe that becomes a part of your rotation permanently. Make it once, and you will understand exactly why.