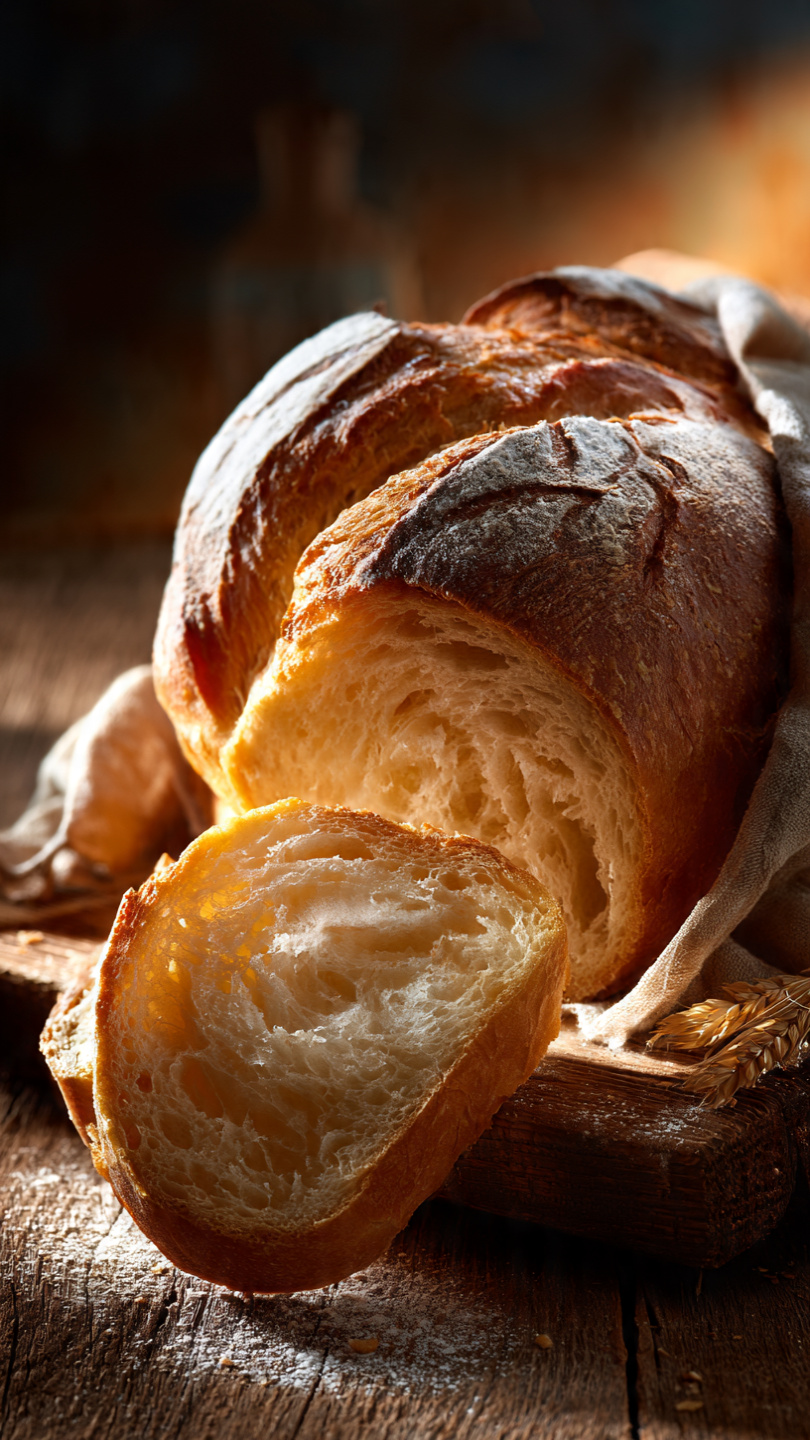
Rustic Homemade Yeast Bread (Crispy Italian-Style Artisan Loaf)
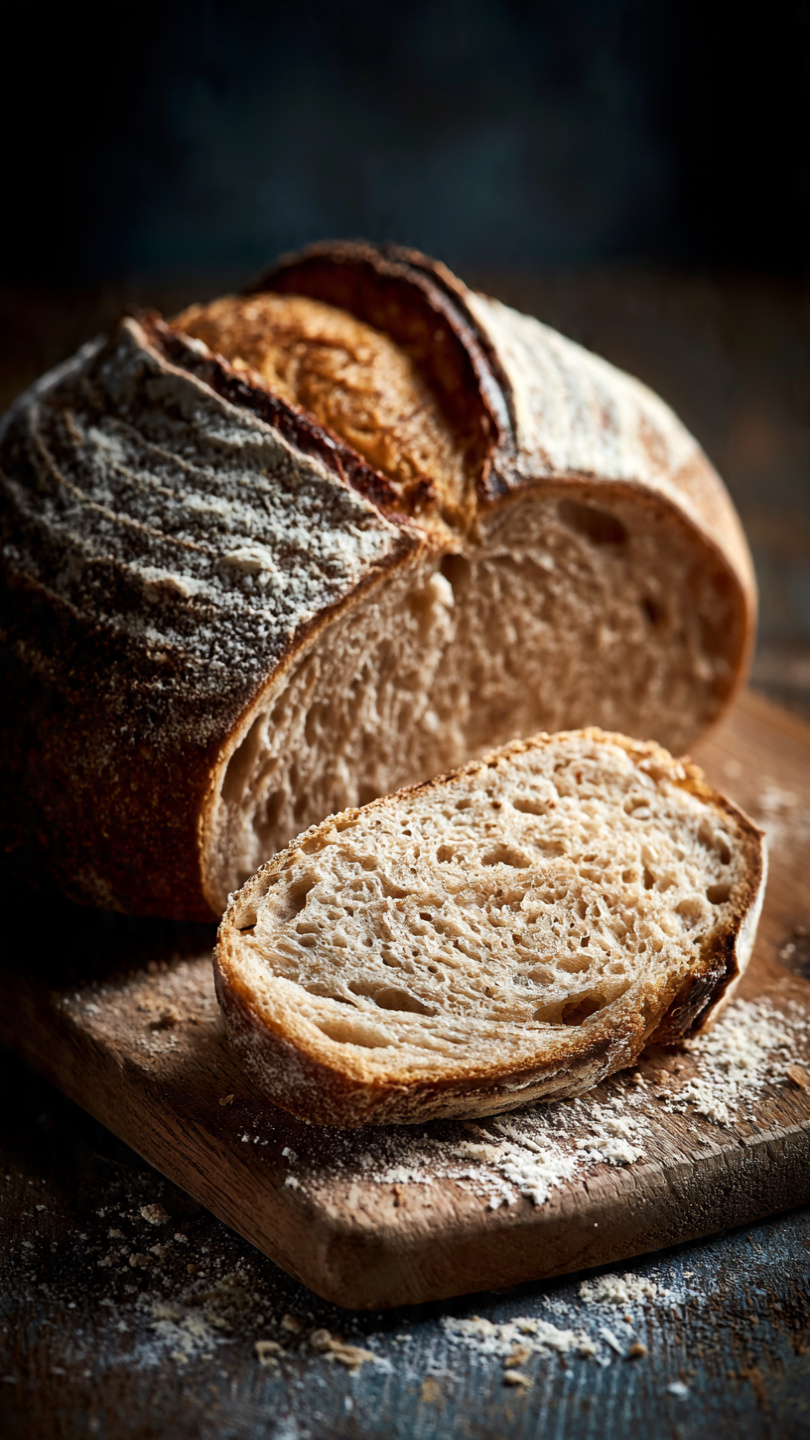
This rustic homemade yeast bread delivers a shatteringly crispy crust and a soft, chewy crumb — just like a true artisan Italian loaf from your favorite bakery, made right in your own kitchen.

The Only Rustic Yeast Bread Recipe You Will Ever Need
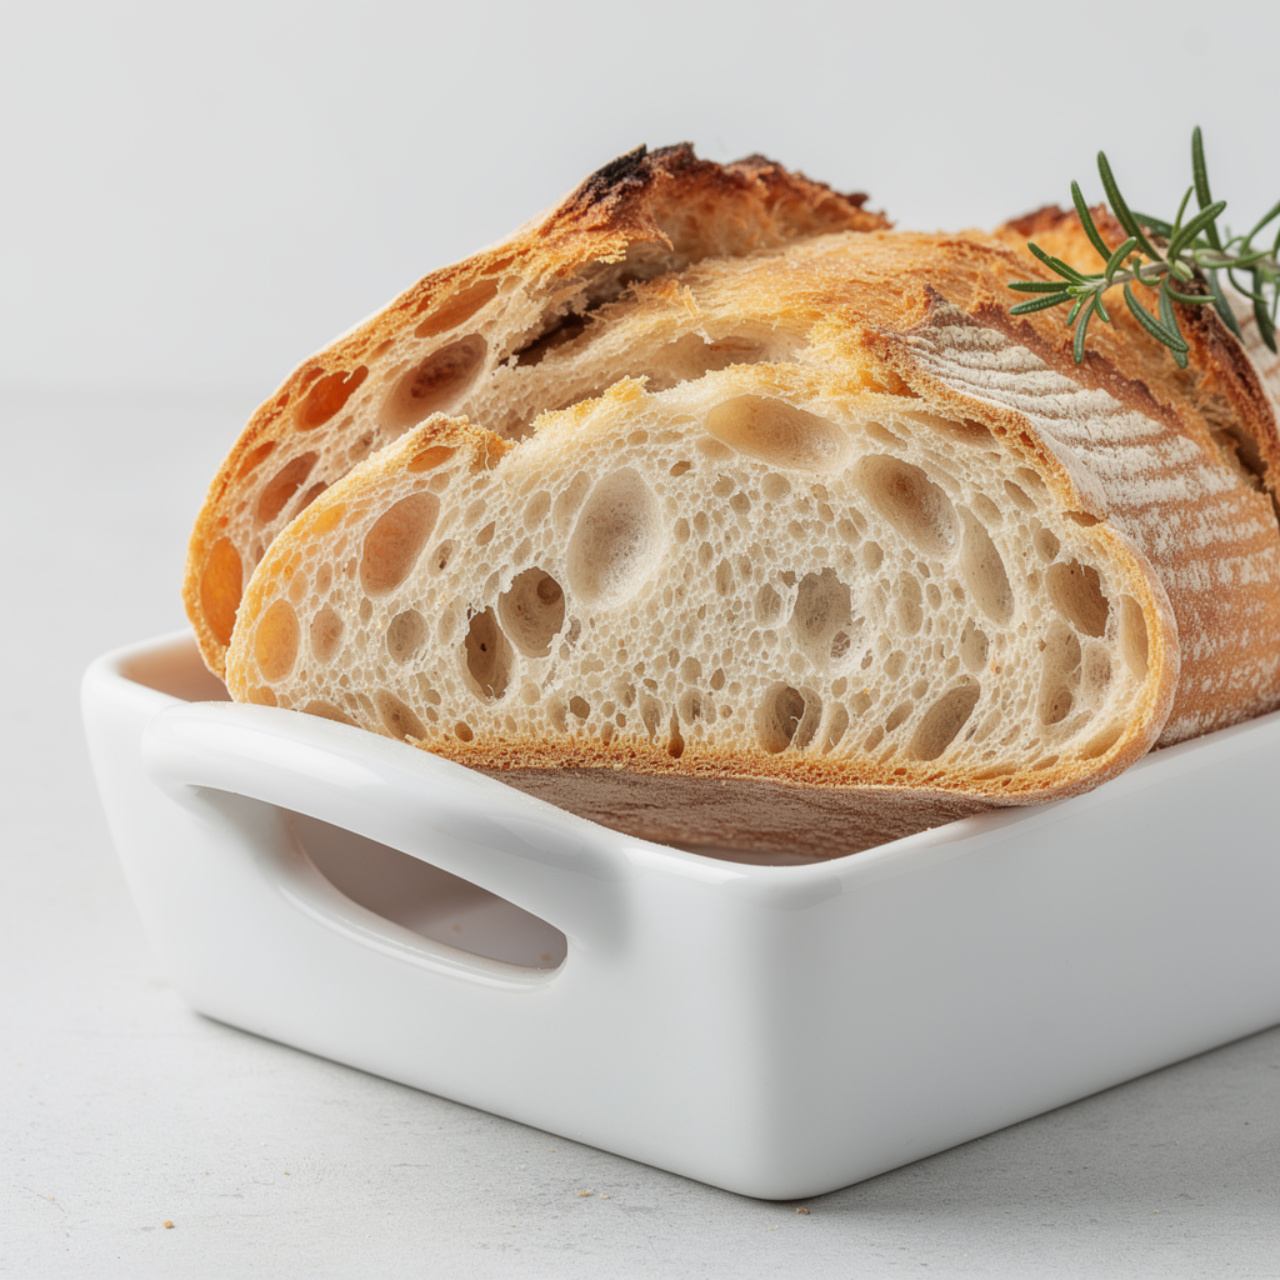
There is something almost magical about pulling a crackling, golden loaf of homemade bread from the oven. The crust shatters just slightly when you press it. The crumb inside is open, pillowy, and begging for a smear of good butter. This rustic Italian-style yeast bread delivers exactly that, and it requires nothing more than flour, water, yeast, salt, and a little patience.
Whether you are searching for a trusty artisan Italian bread recipe, a crusty Italian bread recipe that is easy enough for beginners, or a rustic bread recipe that works in a Dutch oven, this is your answer. It is the kind of homemade bread Italian grandmothers have been making for generations, and once you try it, the store-bought loaves will collect dust.
Why This Recipe Works
Most crusty Italian bread recipes fail at home for one of two reasons: the crust stays pale and soft, or the crumb turns out dense and doughy. This recipe solves both problems by using a Dutch oven. The heavy, lidded pot traps the steam released by the dough during the first phase of baking, mimicking the deck ovens of professional bakeries. The result is an open, airy crumb and a crust that genuinely crackles.
The other secret is time. Yeast bread is not a project you rush. Giving the dough a full, unhurried rise develops complex flavor that no shortcut can replicate.
Chef's Tip: If your kitchen is cold, create a warm proofing environment by turning your oven to its lowest setting for just 2 minutes, then turning it off and placing the covered dough inside with the door closed.
The Right Tools Make All the Difference
For a truly crispy Italian bread with that signature bakery crust, your Dutch oven is the single most important piece of equipment in this recipe. A well-seasoned cast iron Dutch oven or an enameled one both work beautifully, and a good bread lame (or even a sharp serrated knife) ensures your scoring opens up dramatically as the loaf bakes.
Ingredients Worth Knowing
This is a short ingredient list, which means every single one matters:
- Bread flour gives the loaf structure and chew. All-purpose flour is a fine substitute, but bread flour is worth using if you can find it.
- Active dry yeast is reliable and widely available. Make sure yours is fresh by proofing it in warm water first.
- Warm water is the most misunderstood ingredient in bread baking. Too cold and the yeast sleeps. Too hot and it dies. Aim for 105 to 115 degrees F.
- Fine sea salt is not just for flavor. Salt controls fermentation speed and strengthens the gluten network.
- Extra virgin olive oil adds a subtle richness and keeps the crumb from drying out too quickly, which is classic in a homemade Italian bread loaf.
Shaping Your Rustic Italian Boule
You do not need to be a trained baker to shape this bread well. After the first rise, gently press the dough into a rough rectangle, fold the sides inward like an envelope, then roll it toward you and tuck it into a tight round ball. The surface tension you create during shaping is what gives the loaf its height and structure in the oven.
Do not overwork the dough during shaping. A few confident movements beat endless fussing every time.
Ready to bake your best loaf yet? Here is the full step-by-step recipe:
Rustic Homemade Yeast Bread (Crispy Italian-Style Artisan Loaf)
This rustic homemade yeast bread delivers a shatteringly crispy crust and a soft, chewy crumb — just like a true artisan Italian loaf from your favorite bakery, made right in your own kitchen.
Ingredients
- 3 1/2 cups bread flour, plus more for dusting; all-purpose flour works as a substitute
- 2 1/4 tsp active dry yeast, one standard packet
- 1 1/2 cups warm water, between 105 and 115 degrees F to activate the yeast
- 1 1/2 tsp fine sea salt
- 1 tsp granulated sugar, feeds the yeast and encourages browning
- 1 tbsp extra virgin olive oil, plus extra for greasing the bowl
Instruction
In a large bowl, combine the warm water, sugar, and yeast. Stir gently and let sit for 5 to 10 minutes until the mixture is foamy and fragrant. If it does not foam, your yeast may be expired or your water too hot — start over with fresh yeast.
Add the olive oil and salt to the yeast mixture and stir to combine. Add the bread flour one cup at a time, mixing with a wooden spoon until a shaggy dough forms.
Turn the dough out onto a lightly floured surface. Knead vigorously for 8 to 10 minutes until the dough is smooth, elastic, and slightly tacky but not sticky. It should spring back when you poke it.
Lightly oil a large bowl, place the dough inside, and turn it once to coat. Cover tightly with plastic wrap or a clean kitchen towel. Let rise in a warm, draft-free spot for 1 to 1.5 hours, until doubled in size.
Place your Dutch oven (with its lid) into the oven and preheat to 450 degrees F (230 degrees C) for at least 30 minutes. This step is crucial for a bakery-quality crust.
Punch down the risen dough gently and shape it into a round boule. Place it on a sheet of parchment paper and let it rest for 20 to 30 minutes while the oven finishes heating.
Using the parchment as a sling, carefully lower the dough into the screaming-hot Dutch oven. Score the top with a sharp knife or bread lame in an X or a few slashes. Place the lid on and bake for 25 minutes.
Remove the lid and continue baking for an additional 18 to 22 minutes, until the crust is a deep golden brown. The internal temperature should read 200 to 210 degrees F (93 to 99 degrees C) on an instant-read thermometer.
Carefully lift the bread out using the parchment and transfer it to a wire cooling rack. Let it cool for at least 30 minutes before slicing — this allows the interior crumb to fully set.
Equipment
- Large mixing bowl
- Dutch oven (5-quart or larger, with lid)
- Parchment paper
- Bench scraper or wooden spoon
- Instant-read thermometer
- Wire cooling rack
- Bread lame or sharp knife
Notes
Serving, Storing, and Variations
This rustic bread is endlessly versatile. Serve it:
- Warm from the oven with cultured butter and flaky salt
- Sliced thick alongside a bowl of minestrone or pasta
- Toasted the next day and rubbed with a raw garlic clove for bruschetta
- Torn and shared at the table as the best kind of centerpiece
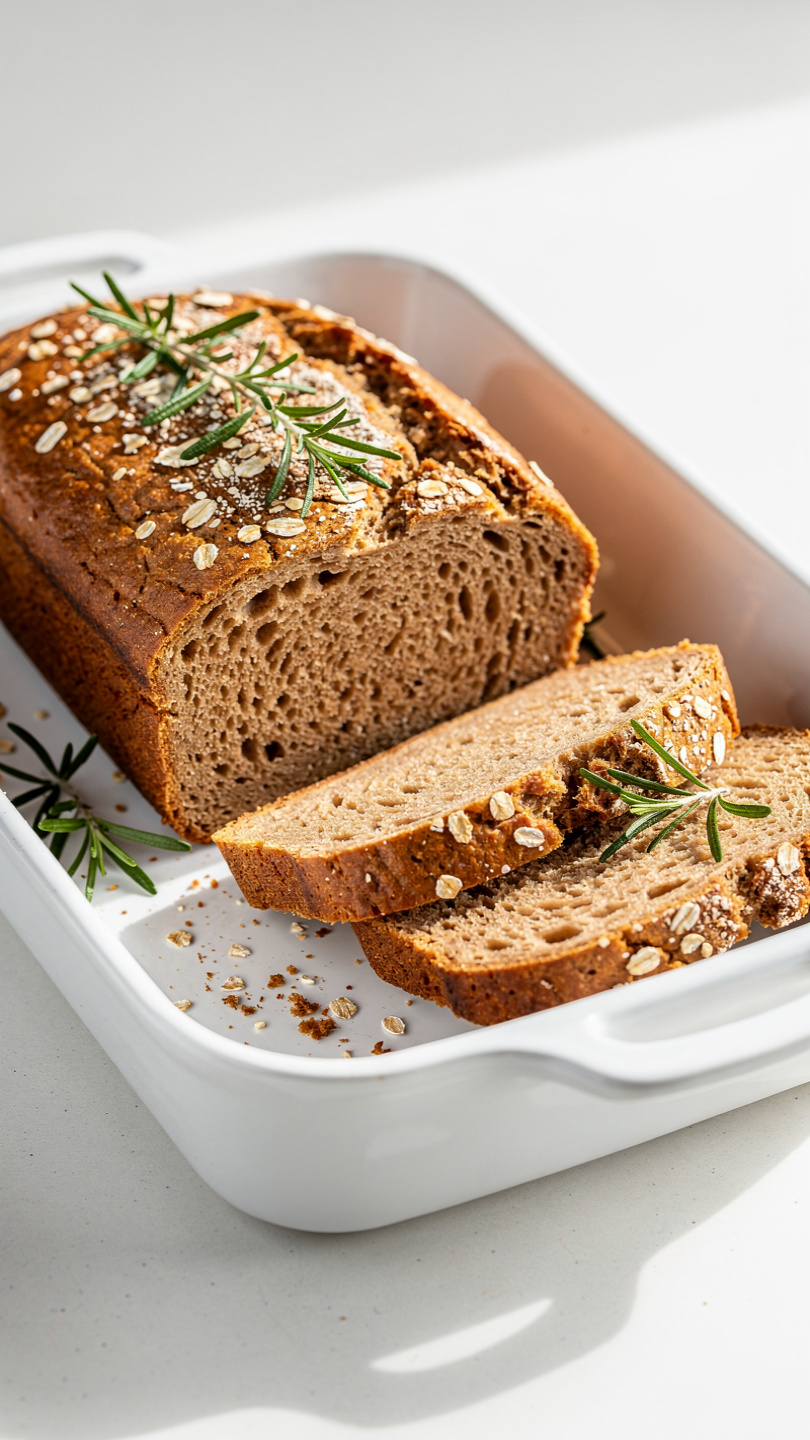
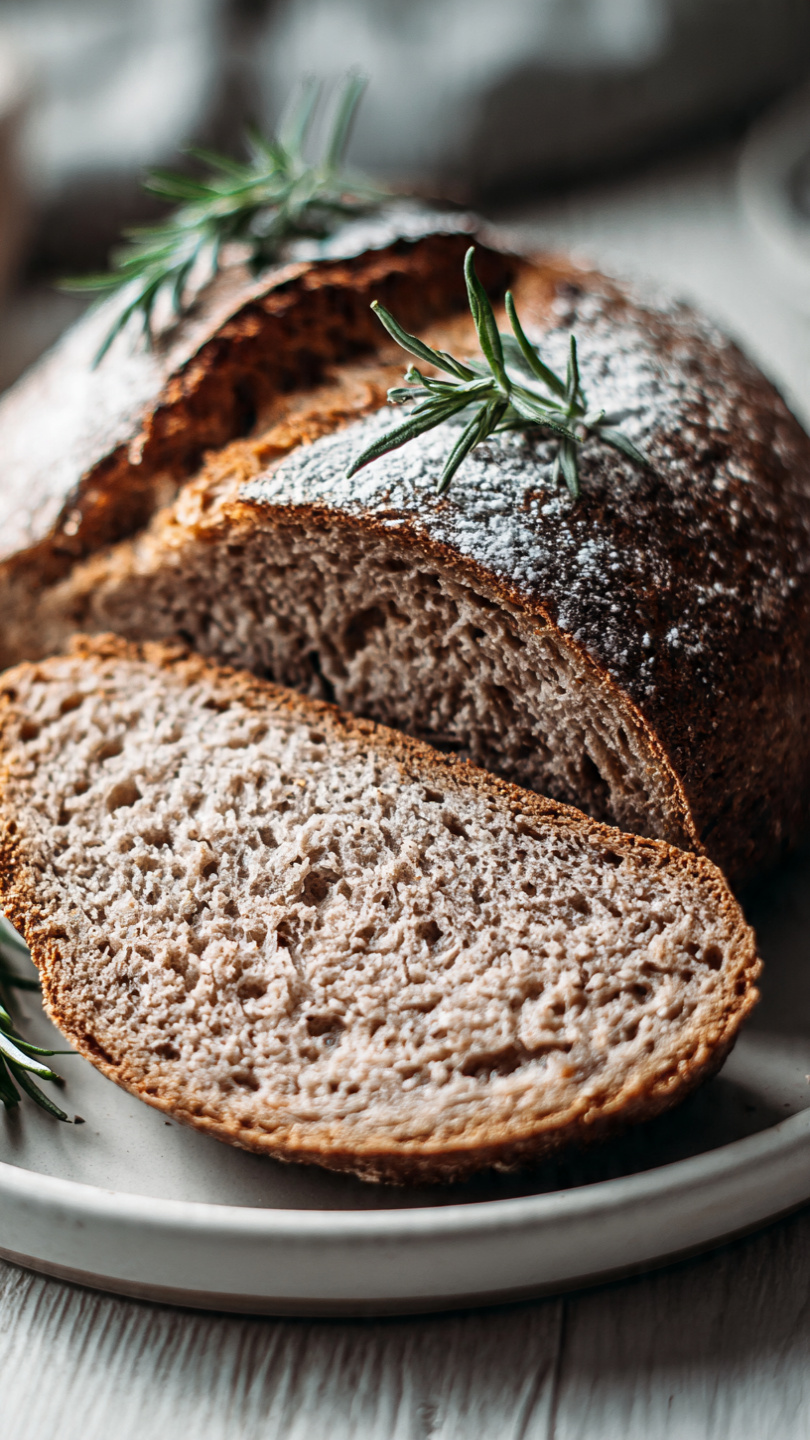
For a variation, add 1 tablespoon of fresh rosemary and a handful of kalamata olives to the dough after kneading for a deeply savory, herb-laced loaf. You can also brush the crust lightly with olive oil in the last 5 minutes of baking for extra sheen.
Store at room temperature in a paper bag or wrapped in a clean towel. Never in plastic, and avoid the refrigerator. For longer storage, slice and freeze, then toast straight from frozen whenever a craving strikes.
Reminder: Let the bread cool for at least 30 minutes before cutting. The interior crumb is still actively cooking as it cools, and slicing too early will give you a gummy texture no matter how perfectly you baked it.