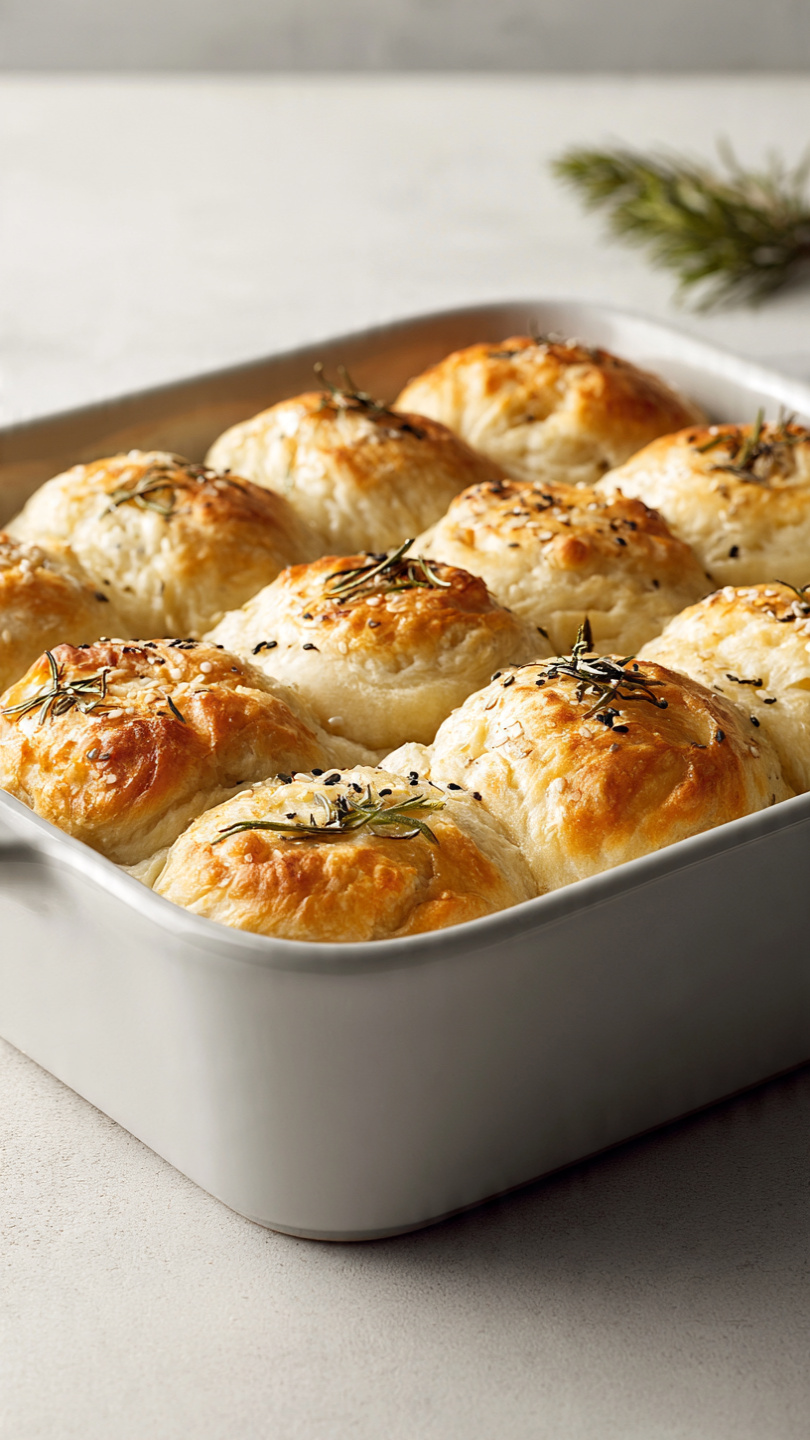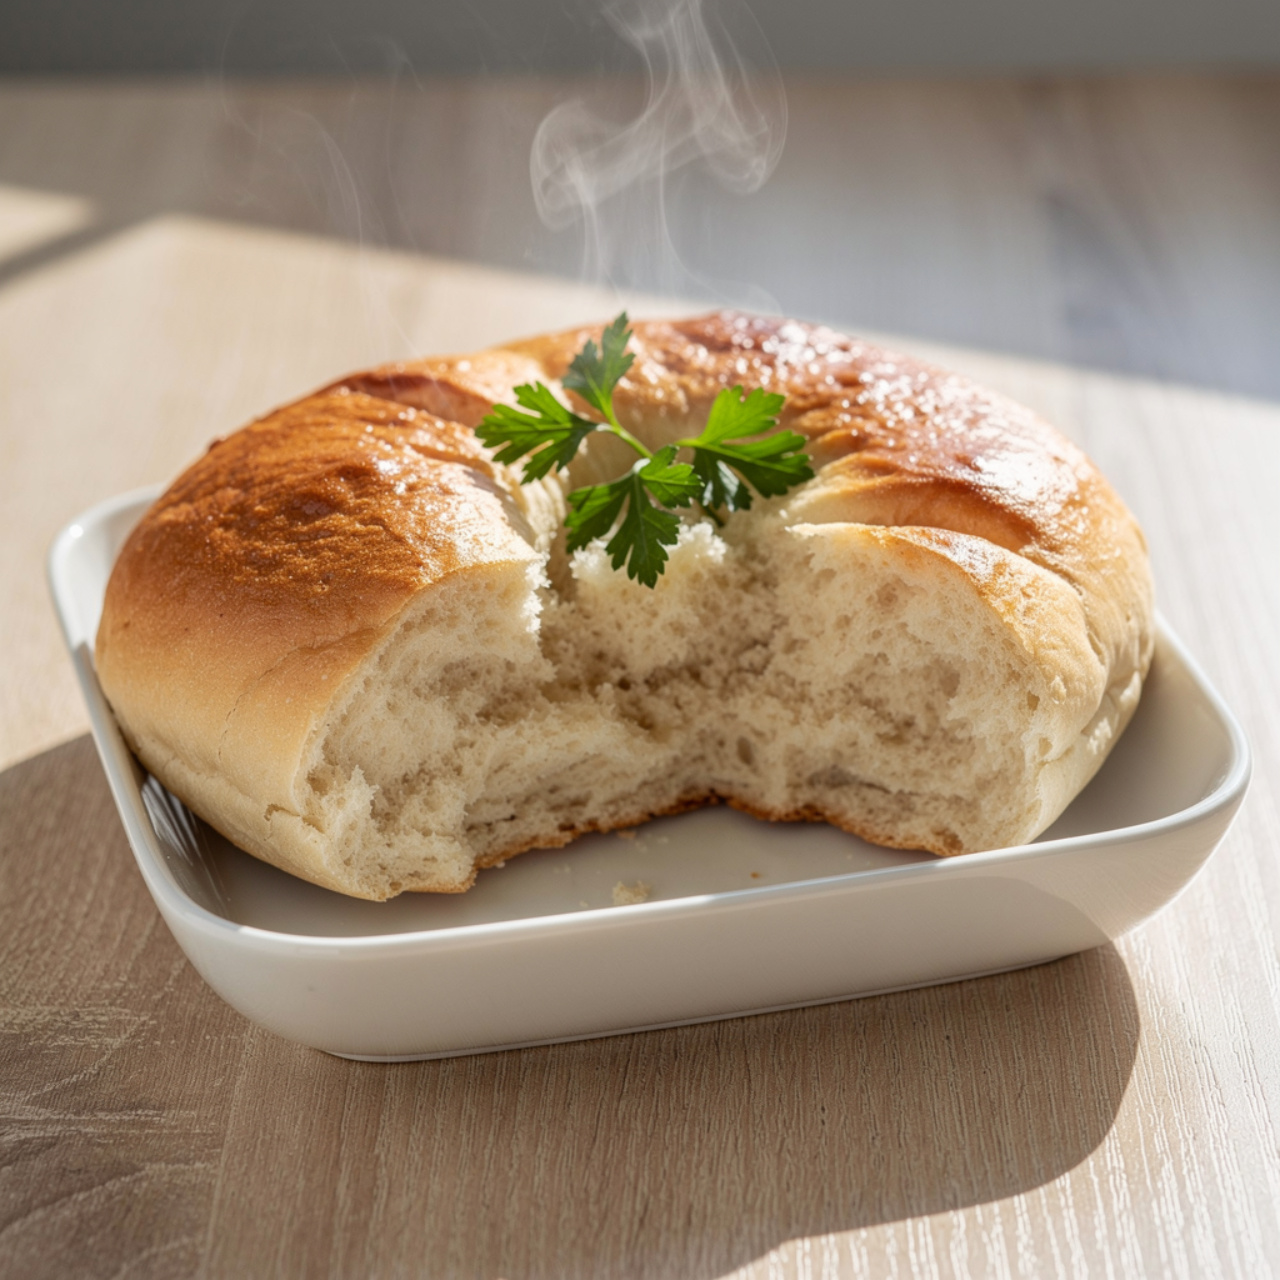
Sourdough Pita Bread (Easy Sourdough Discard Recipe)
Fluffy, pillowy sourdough pita bread made with sourdough discard for a subtle tang and incredible texture. This easy beginner sourdough recipe comes together in under an hour and is perfect for dipping, stuffing, or serving alongside your favorite meals.

The Pillowy Sourdough Pita Bread You Will Make on Repeat
If you have been keeping a sourdough starter, chances are you have a jar of discard sitting in your fridge right now just waiting to be put to good use. Enter this sourdough pita bread recipe, one of the most satisfying and genuinely useful sourdough discard recipes in your repertoire. It is soft, slightly tangy, beautifully chewy, and it puffs up in the pan like magic.
This is not a recipe that requires a 24-hour ferment or an intimidating technique. It is a fast, approachable, easy beginner sourdough recipe that delivers bakery-quality results from a regular weeknight kitchen. Whether you are brand new to working with sourdough discard or you have been doing it for years, these pitas are going to earn a permanent spot in your rotation.
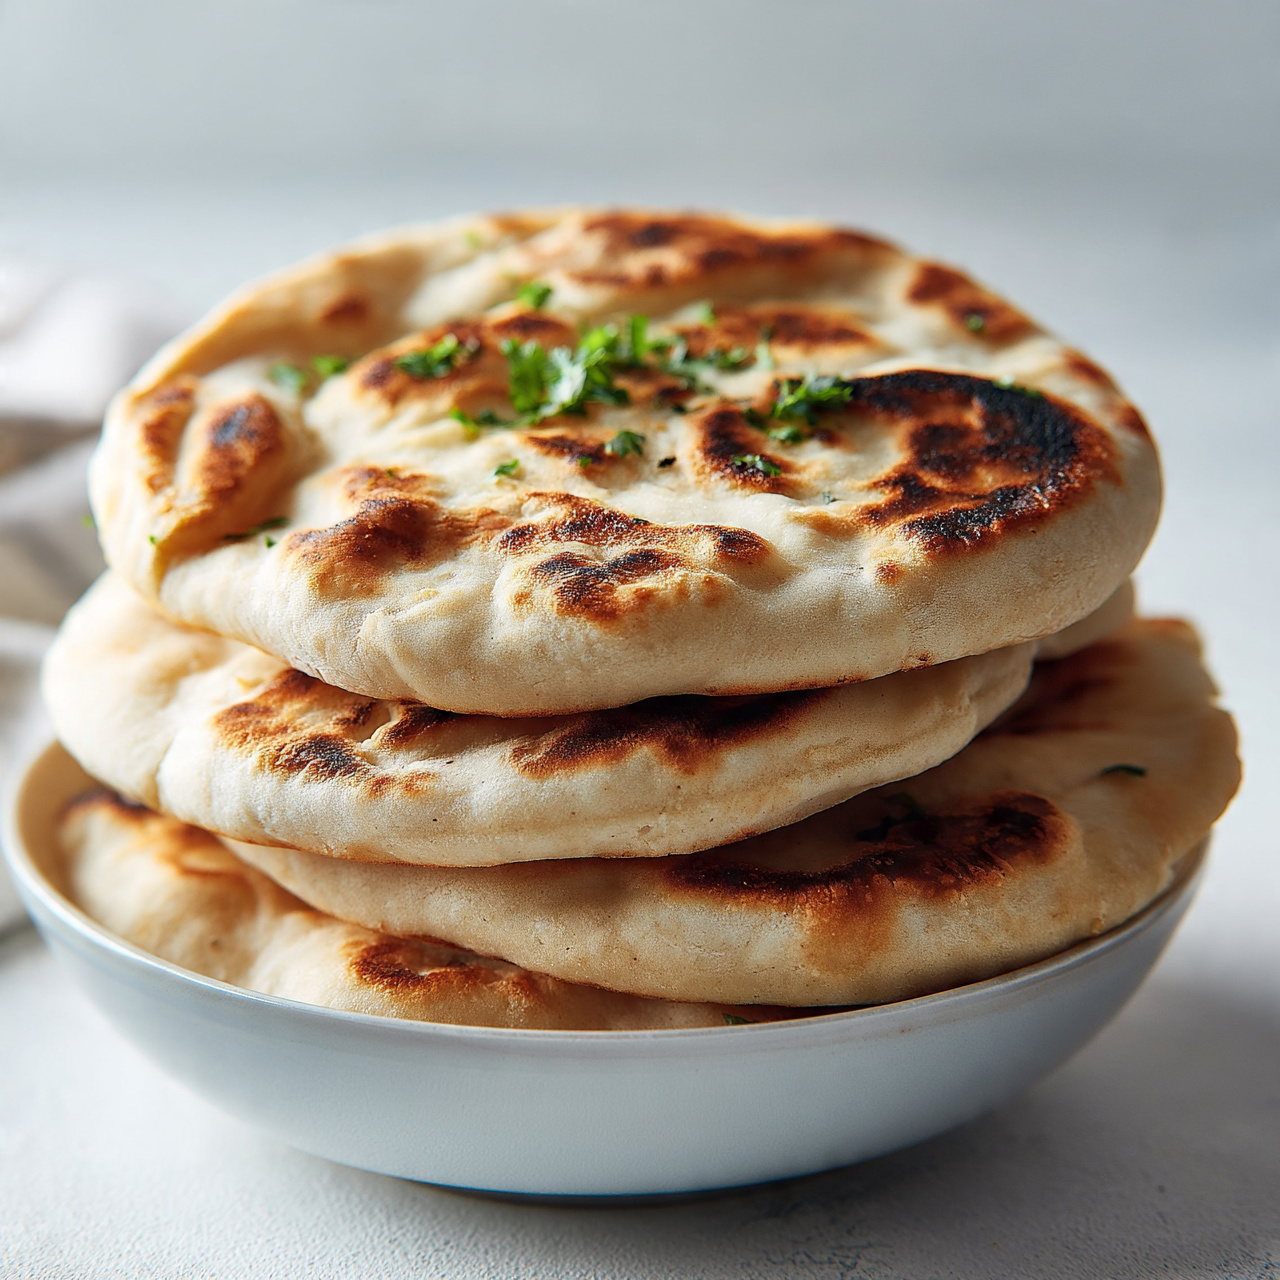
Using the right pan makes a significant difference in how well these pitas puff. A well-seasoned cast iron skillet retains heat evenly and creates those gorgeous charred spots that give homemade pita its signature look and flavor. The quality of your olive oil and the freshness of your yeast also genuinely matter for both texture and rise.
Why This Sourdough Discard Pita Bread Works So Well
Most traditional pita recipes rely entirely on commercial yeast, which is perfectly fine. But adding sourdough discard to the dough brings a subtle tang, a more complex flavor, and a softer interior crumb that plain yeast dough just cannot quite replicate. You get the best of both worlds: the reliability of commercial yeast for a quick, predictable rise, and the nuanced depth of flavor that only sourdough can offer.
This is also one of those easy quick sourdough discard recipes that uses your discard without needing to wait for a full fermentation cycle. The discard goes straight in, no feeding required, no long wait. It contributes flavor and a little extra hydration, and the yeast does the heavy lifting for the rise.
Chef's Tip: The key to pita that puffs into a proper pocket is rolling the dough to an even thickness of about 1/8 inch and making sure your skillet is genuinely hot before the dough hits the pan. A lukewarm pan will give you a flat cracker. A screaming hot pan gives you a dramatic, satisfying puff.
What to Expect From the Dough
This dough is soft, smooth, and a pleasure to work with. It should feel slightly tacky but should not stick aggressively to your hands or the counter. If it does, a light dusting of flour will sort it out quickly. Resist the urge to add too much extra flour, as a slightly sticky dough stays more tender after cooking.
The rise time is short, typically 45 to 60 minutes, which means you can have warm, freshly made pita bread on the table within about an hour and a half from start to finish. That is remarkable for anything involving yeast and sourdough discard.
Tips for Rolling and Cooking
- Roll each piece evenly. Uneven thickness means uneven puffing, and some parts may not fully separate into a pocket.
- Do not skip preheating the skillet. Give it a solid 3-4 minutes over medium-high heat with no oil before you start.
- Work in batches and keep cooked pitas wrapped in a clean kitchen towel as you go. The steam trapped inside the towel keeps them soft and pliable.
- Watch for bubbling on the surface as your cue to flip. Those bubbles are the steam doing its job and forming the pocket.
Note: If your kitchen is cold, your dough may need a bit longer to rise. A warm oven with just the light on, or a spot near a warm stovetop, works great as a proofing environment.
How to Serve Sourdough Pita Bread
The honest answer is: any way you like. These pitas are incredibly versatile. Here are some of the best ways to enjoy them:
- Stuffed with grilled chicken, falafel, or roasted vegetables and a generous drizzle of tahini
- Torn and dipped into hummus, baba ganoush, or tzatziki
- Used as a flatbread base with a spread of labneh and fresh herbs
- Served alongside soups and stews for scooping and soaking
- Cut into wedges and toasted in the oven for homemade pita chips
They are also a beautiful side for a mezze spread, and honestly, fresh out of the pan with just a little flaky salt and olive oil on top, they are hard to beat.
Ready to make the softest, most satisfying sourdough discard pita bread of your life? Here is everything you need:
Sourdough Pita Bread (Easy Sourdough Discard Recipe)
Fluffy, pillowy sourdough pita bread made with sourdough discard for a subtle tang and incredible texture. This easy beginner sourdough recipe comes together in under an hour and is perfect for dipping, stuffing, or serving alongside your favorite meals.
Ingredients
- 2 1/2 cups all-purpose flour, plus more for dusting
- 1/2 cup sourdough discard, unfed, at room temperature
- 1/2 cup warm water, about 100-110°F (38-43°C)
- 1 tsp active dry yeast
- 1 tsp granulated sugar, to activate the yeast
- 2 tbsp olive oil, extra virgin
- 1 tsp salt, fine sea salt preferred
Instruction
In a small bowl, combine the warm water, sugar, and active dry yeast. Stir gently and let sit for 5-10 minutes until foamy and fragrant. If the mixture does not foam, your yeast may be expired and should be replaced.
In a large mixing bowl, whisk together the all-purpose flour and salt. Make a well in the center and add the sourdough discard, activated yeast mixture, and olive oil.
Mix with a wooden spoon or your hands until a shaggy dough forms, then turn it out onto a lightly floured surface and knead for 6-8 minutes until the dough is smooth, soft, and slightly tacky but not sticky. Add flour one tablespoon at a time only if the dough is sticking excessively.
Shape the dough into a ball and place it in a lightly oiled bowl. Cover with plastic wrap or a damp kitchen towel and let it rise in a warm spot for 45-60 minutes, or until roughly doubled in size.
Punch down the risen dough and divide it into 8 equal pieces. Roll each piece into a smooth ball, then use a rolling pin to roll each ball into a round about 6-7 inches in diameter and roughly 1/8 inch thick. Keep them as even as possible for consistent puffing.
Heat a large cast iron skillet or heavy-bottomed pan over medium-high heat until very hot, about 3-4 minutes. Do not add oil.
Place one pita round into the dry, hot skillet. Cook for 1.5-2 minutes until bubbles begin to form on the surface and the underside develops light golden char marks. Flip and cook for another 1-2 minutes. The pita should puff up dramatically, which is the sign of a perfect pocket forming inside.
Remove the cooked pita and immediately wrap it in a clean kitchen towel to keep it soft and pliable while you cook the remaining rounds. Repeat with all remaining dough rounds.
Serve warm or at room temperature. Once completely cooled, store in an airtight bag or container.
Equipment
- Large mixing bowl
- Small bowl
- Rolling pin
- Cast iron skillet or heavy-bottomed pan
- Clean kitchen towel
- Wooden spoon or stand mixer with dough hook
- Plastic wrap or damp towel for proofing
Notes
Storing and Freezing Your Pita Bread
These pitas are genuinely best on the day they are made, when they are still soft and warm and the pockets are at their most distinct. That said, they store well. Keep cooled pitas in an airtight bag at room temperature for up to 2 days, or freeze them in a single layer before transferring to a freezer bag for up to 2 months.
To reheat from frozen, a dry skillet over medium heat for about 30-60 seconds per side brings them back beautifully. Wrapping them in foil and warming in a 350°F oven for 8-10 minutes works just as well. Skip the microwave if you can; it tends to turn them rubbery.
Once you make these, you will understand why so many people who start baking with sourdough discard never go back to store-bought pita. The flavor, the texture, and the satisfaction of watching them puff in the pan make this one of those recipes worth making again and again.