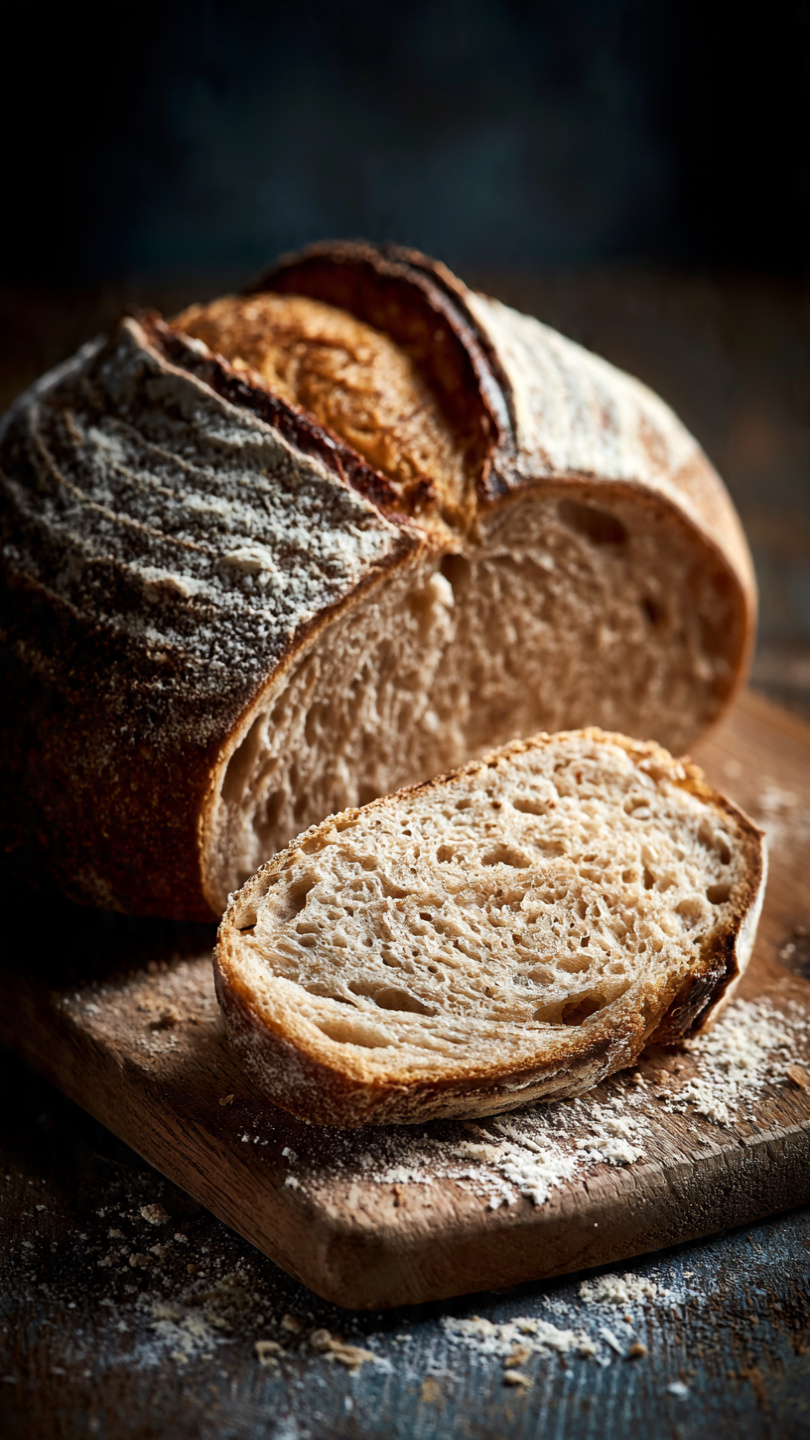
Simple Sourdough Bread Recipe (Soft, Fluffy & Homemade)
This simple sourdough bread recipe produces a soft, fluffy homemade sandwich loaf with a perfectly golden crust and a mild tang you will absolutely love. Made from scratch with an active starter, it is the farmhouse sourdough sandwich bread you have been searching for.

The Only Homemade Sourdough Sandwich Bread You Will Ever Need
If you have been searching for a soft, fluffy sourdough sandwich bread that is actually easy to make from scratch, you have come to the right place. This simple sourdough bread recipe delivers everything you want in a farmhouse loaf: a tender, pillowy crumb, a beautifully golden crust, and that gentle sourdough tang that makes every slice taste like something special.
This is the kind of bread that makes your whole kitchen smell incredible. It is the loaf that earns you compliments at the breakfast table and makes the best grilled cheese of your life. Whether you are brand new to sourdough baking or you have been nurturing your starter for years, this recipe is approachable, forgiving, and wildly satisfying.
Why This Recipe Works So Well
A lot of sourdough sandwich bread recipes swing too far in one direction. Either they are so crusty and chewy that your sandwich toppings go flying, or they are so dense that a single slice feels like a workout. This recipe hits the sweet spot.
The secret is in the combination of bread flour, a touch of whole milk, and a small amount of honey. The milk adds fat and tenderness to the crumb, the honey feeds the starter and encourages a beautiful rise, and the bread flour gives just enough structure to hold the loaf together without making it tough.
The bulk ferment does most of the heavy lifting overnight, which means your active hands-on time is minimal. You mix the dough in the evening, let it rise while you sleep, shape it in the morning, and bake it before lunch. It genuinely does not get more farmhouse than that.
Baker's Note: The bulk ferment time is a guideline, not a rule. Trust your eyes over the clock. The dough should look puffy, feel airy, and have roughly doubled in volume before you move on to shaping.
What Makes a Great Sourdough Starter
Before we talk tools, it is worth spending a moment on your sourdough starter, because it is the engine of this entire recipe. A bubbly, active starter at peak rise is non-negotiable for a light and fluffy sourdough sandwich loaf.
Feed your starter 6 to 12 hours before you plan to mix your dough. It should be full of bubbles, have a domed top, and smell pleasantly tangy and yeasty, not overly sour or like acetone. If it passes the float test (a small spoonful floats in water), you are good to go.
If your starter is sluggish or you are building one from scratch, give yourself a few extra feeding cycles before attempting this recipe. A strong, healthy starter is the single biggest factor in getting a well-risen, flavorful loaf.
The Right Tools Make All the Difference
You do not need a professional bakery to make incredible homemade sourdough, but a few key tools will genuinely improve your results and make the whole process smoother. Using a kitchen scale for flour measurements, a reliable instant-read thermometer for checking doneness, and a proper loaf pan that conducts heat evenly are the kinds of investments that pay off every single bake.
Tips for the Softest, Fluffiest Sourdough Sandwich Bread
Here are the details that separate a good loaf from a truly great one:
- Measure your flour by weight. Scooping cups of flour packs it in and can lead to a dry, stiff dough. A kitchen scale is your best friend here.
- Do not skip the final proof. That second rise in the loaf pan is what gives you that gorgeous crown above the rim. Rushing it leads to a flat, dense loaf.
- Score the top. A single slash down the center allows the loaf to expand upward in the oven rather than tearing from the sides.
- Cool completely before slicing. It is tempting, we know. But cutting into a hot loaf compresses the crumb and makes it gummy. Give it at least an hour on the wire rack.
- Brush with butter fresh from the oven for a soft, glossy crust that stays tender rather than getting chewy as it cools.
Chef's Tip: For an extra-soft crust, tent the loaf loosely with aluminum foil for the last 10 minutes of baking. This traps steam and keeps the exterior from getting too firm.
How to Shape a Sandwich Loaf
Shaping is the step that intimidates most new sourdough bakers, but for a light fluffy sourdough sandwich bread, the method is simple. After your bulk ferment, gently press the dough into a rough rectangle on a lightly floured surface. Fold the short ends toward the center like a letter, then roll the dough tightly from one of the long edges into a log. Pinch the seam closed, place it seam-side down in your greased loaf pan, and that is it. No fancy technique required.
The goal is surface tension. A tight, smooth shape holds its structure during the final proof and gives you that tall, even rise in the oven.
Ready to bake your new favorite loaf? Here is everything you need, laid out in one place:
Simple Sourdough Bread Recipe (Soft, Fluffy & Homemade)
This simple sourdough bread recipe produces a soft, fluffy homemade sandwich loaf with a perfectly golden crust and a mild tang you will absolutely love. Made from scratch with an active starter, it is the farmhouse sourdough sandwich bread you have been searching for.
Ingredients
- 1/2 cup active sourdough starter, fed and bubbly, at peak activity
- 1 cup warm water, around 90 to 100 degrees F
- 1/4 cup whole milk, room temperature, can substitute with any milk
- 2 tbsp honey, or substitute with maple syrup or white sugar
- 2 tbsp olive oil or melted butter, unsalted butter preferred for richer flavor
- 3 1/2 cups bread flour, spooned and leveled, or all-purpose flour as a substitute
- 1 1/2 tsp fine sea salt
Instruction
In a large mixing bowl, combine the active sourdough starter, warm water, whole milk, honey, and olive oil or melted butter. Whisk until everything is well incorporated.
Add the bread flour and fine sea salt to the bowl. Mix with a wooden spoon or dough whisk until a shaggy dough forms and no dry flour remains.
Turn the dough out onto a lightly floured surface and knead by hand for 8 to 10 minutes, or use a stand mixer fitted with a dough hook on medium speed for 6 to 8 minutes, until the dough is smooth, soft, and slightly tacky but not sticky.
Shape the dough into a ball and place it back into the bowl. Cover with a damp kitchen towel or plastic wrap and let it bulk ferment at room temperature (70 to 75 degrees F) for 8 to 12 hours, or until it has roughly doubled in size. For a warmer kitchen, check at the 6-hour mark.
Once the dough has doubled, gently punch it down and turn it onto a lightly floured surface. Shape it into a tight log the same length as your loaf pan.
Place the shaped dough seam-side down into a well-greased 9x5 inch loaf pan. Cover loosely and allow it to proof at room temperature for 1 to 2 hours, or until the dough crowns about 1 inch above the rim of the pan.
While the dough is in its final proof, preheat your oven to 375 degrees F (190 degrees C).
Once proofed, score the top of the loaf with a sharp bread lame or serrated knife down the center. Optionally, brush the top with melted butter or a milk wash for a glossy, golden crust.
Bake for 35 to 40 minutes, until the crust is deep golden brown and the internal temperature reads 195 to 200 degrees F on an instant-read thermometer.
Remove the loaf from the oven and let it cool in the pan for 10 minutes, then turn it out onto a wire rack. Allow it to cool completely for at least 1 hour before slicing to avoid a gummy crumb.
Equipment
- Large mixing bowl
- Dough whisk or wooden spoon
- Stand mixer with dough hook (optional)
- 9x5 inch loaf pan
- Bench scraper
- Bread lame or serrated knife
- Instant-read thermometer
- Wire cooling rack
- Kitchen scale (recommended)
Notes
Serving, Storing, and Variations
This homemade sourdough sandwich bread is endlessly versatile. Slice it thick for avocado toast, thin for BLTs, or somewhere in between for the most indulgent grilled cheese of your life. It also makes extraordinary French toast the next morning.
For storing, wrap the cooled loaf in a beeswax wrap or a linen bread bag and keep it at room temperature for up to 3 days. Avoid plastic wrap if you want to maintain a slightly firmer crust. For longer storage, slice the whole loaf and freeze it flat before transferring the slices to a freezer bag. Individual slices can go straight from freezer to toaster.
Want to mix things up? Try these easy variations:
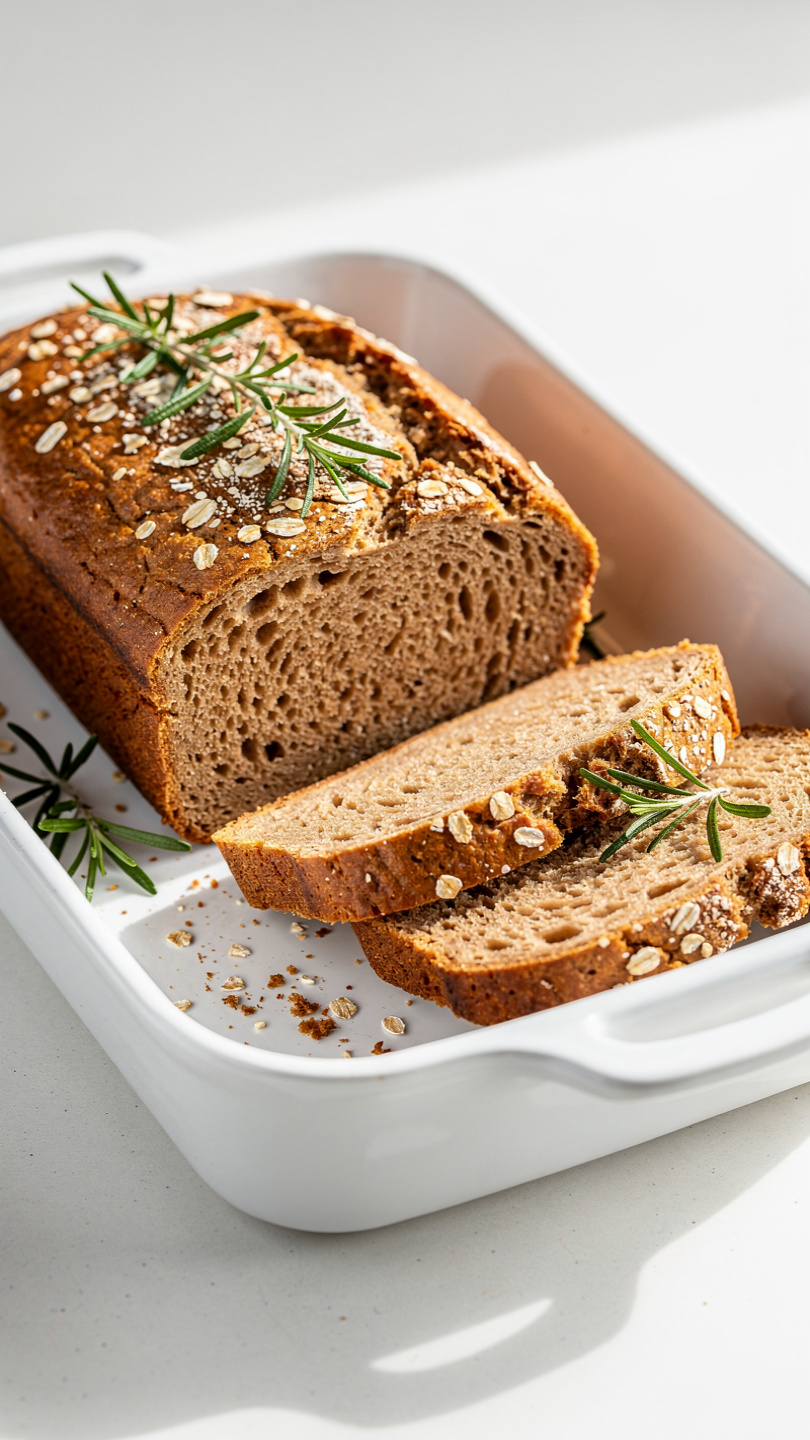
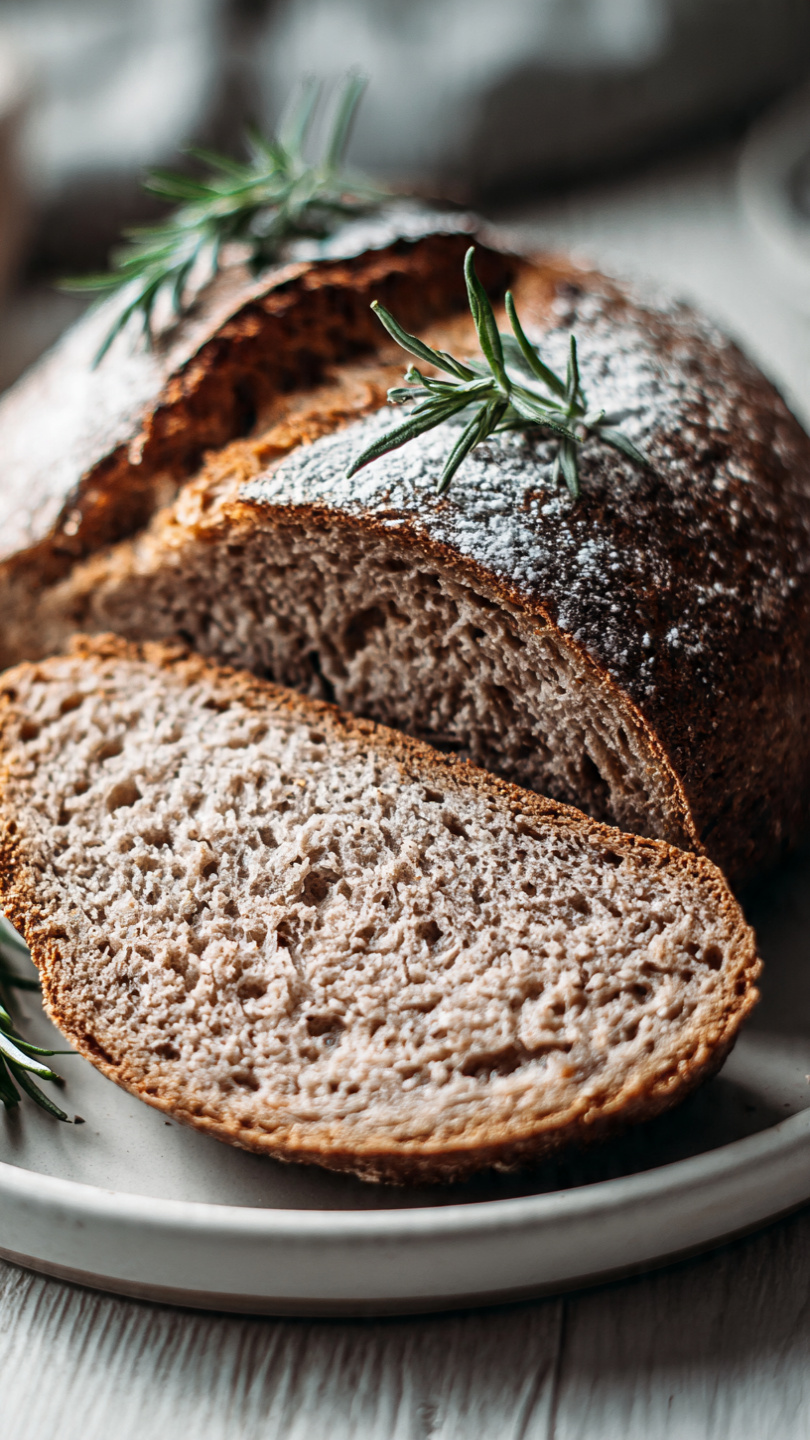
- Whole wheat: Swap up to half the bread flour with whole wheat flour for a heartier, nuttier loaf.
- Herb and olive oil: Fold in 2 tablespoons of finely chopped rosemary and replace the butter with olive oil.
- Sourdough discard version: Use unfed sourdough discard and add 0.5 teaspoon of instant yeast to compensate for the reduced leavening power. This is a great option when you want fresh bread on a tighter timeline.
- Enriched milk bread style: Replace all the water with warm whole milk for an even softer, richer crumb that is absolutely dreamy.
However you slice it (literally), this is the made from scratch sourdough sandwich loaf that is going to become a permanent rotation in your home kitchen. Once you bake it once, there is really no going back to store-bought.