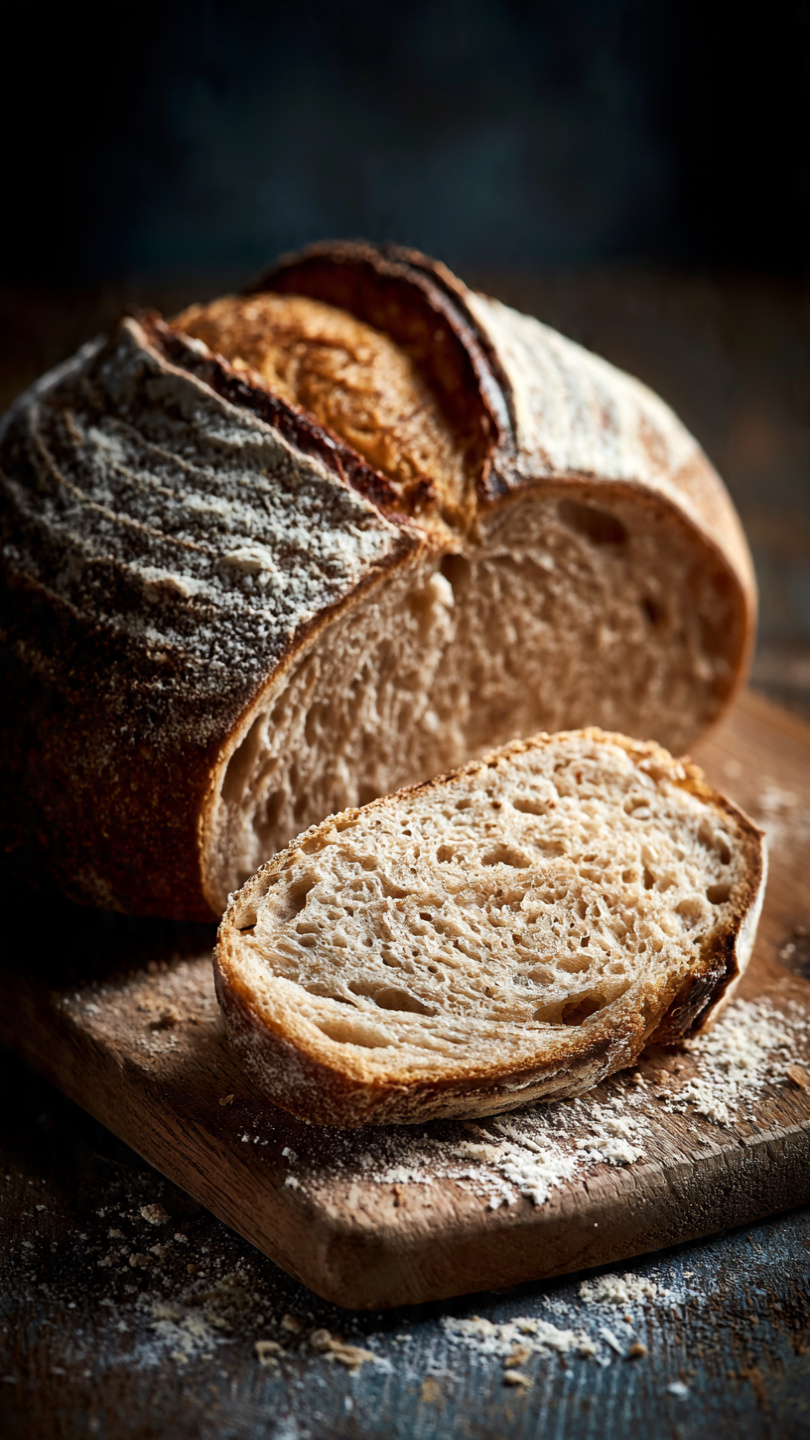
Sourdough Bread Machine Recipe (Crispy Crust, Chewy Crumb)
Make a gorgeous, tangy sourdough loaf with your bread machine doing the heavy lifting. This foolproof recipe walks you through how to start sourdough bread at home, even if you have never baked a sourdough loaf before.

Your Bread Machine Is About to Change the Sourdough Game
Let's be honest: sourdough bread has a reputation for being complicated, time-consuming, and a little intimidating. Hours of stretch-and-folds, precise hydration percentages, and watching your dough like a hawk can make the whole process feel like a science experiment. But here is the good news: your bread machine can handle almost all of that work for you.
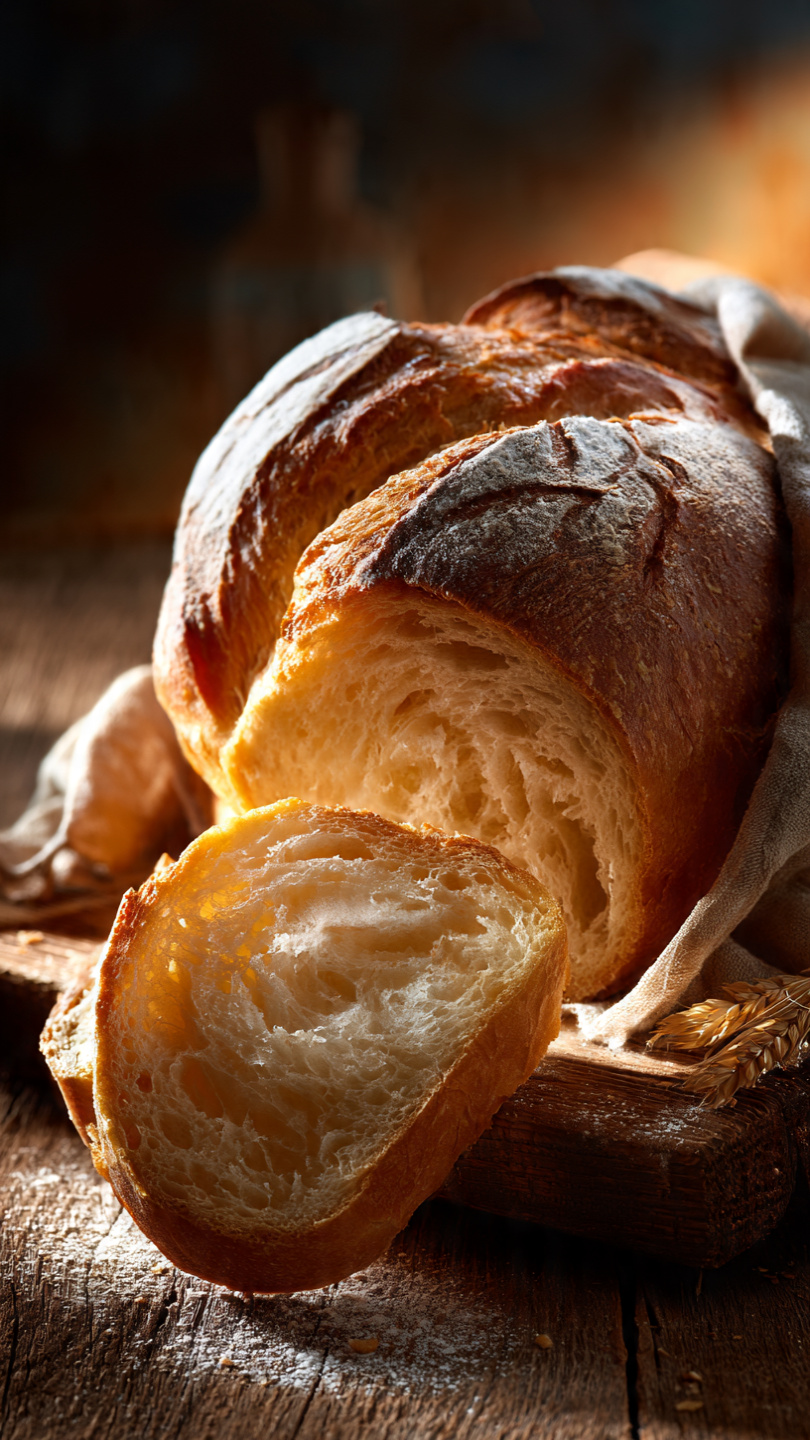
This sourdough bread machine recipe gives you that deeply tangy flavor, gorgeous crackling crust, and chewy open crumb you love in artisan sourdough, without standing at the counter for hours. The machine does the mixing and kneading, you do the shaping, and your oven does the rest. It is the most approachable way to learn how to start making sourdough bread at home.
What You Need to Get Started with Sourdough
If you are wondering what do you need to start sourdough, the honest answer is not much. You need three things above everything else:
- A healthy, active sourdough starter. This is the living culture of wild yeast and beneficial bacteria that makes sourdough, sourdough. If you do not have one yet, you can cultivate your own in about 5 to 7 days using just flour and water, or ask a friend for a small amount of theirs.
- Bread flour. Higher protein content means better gluten development and a chewier, more structured crumb.
- A bread machine with a Dough cycle. This is the real game-changer here.
When you are figuring out how to get started with sourdough, having the right tools genuinely removes the biggest barriers. A quality bread machine with a proper kneading paddle makes all the difference in dough consistency, and a Dutch oven transforms a good loaf into a spectacular one.
The right tools and high-quality bread flour will elevate your results far beyond what basic pantry staples can achieve. Here are the kitchen essentials that genuinely help this recipe shine:
How Did Sourdough Bread Start? (And Why It Still Matters)
Sourdough is one of the oldest forms of leavened bread in human history, dating back over 5,000 years to ancient Egypt. Before commercial yeast existed, every loaf of bread was essentially a sourdough. Bakers maintained living starter cultures across generations, passing them down like heirlooms.
What makes sourdough special today goes beyond nostalgia. The long, slow fermentation process:
- Breaks down phytic acid, making minerals more bioavailable
- Partially pre-digests gluten, which many people find easier on digestion
- Creates complex flavor compounds you simply cannot replicate with instant yeast
- Extends shelf life naturally through the lactic acid produced during fermentation
When you learn how to bake sourdough bread daily, you are tapping into one of humanity's oldest food traditions. And with a bread machine, you are doing it smarter.
The Secret to a Successful Bread Machine Sourdough
The number one mistake beginners make when figuring out how to start sourdough is using an underactive starter. Commercial yeast works fast and predictably. Sourdough starter is alive and moody. It needs to be fed, bubbly, and at peak activity before it goes into your bread machine pan.
Chef's Tip: To test if your starter is ready, drop a small spoonful into a glass of water. If it floats, it is active enough to leaven your bread. If it sinks, feed it again and wait another 4 to 6 hours.
The bread machine handles the kneading perfectly, but sourdough bulk fermentation happens on your timeline, not the machine's timer. After the Dough cycle finishes, you will let the dough sit and ferment for 4 to 8 hours. This is where the magic happens. Warmer kitchens ferment faster, cooler kitchens slower. Learn to read your dough, not just the clock.
Tips for How to Bake Sourdough Bread Daily
If your goal is baking sourdough regularly, building a simple rhythm makes it easy:
- Feed your starter every morning at the same time
- Mix your dough mid-morning using the bread machine Dough cycle
- Bulk ferment through the afternoon
- Shape in the evening, then refrigerate overnight
- Bake the next morning straight from the fridge
This loose schedule means fresh sourdough is always just a bake away without disrupting your day.
Ready to make it? Here is the full step-by-step recipe:
Sourdough Bread Machine Recipe (Crispy Crust, Chewy Crumb)
Make a gorgeous, tangy sourdough loaf with your bread machine doing the heavy lifting. This foolproof recipe walks you through how to start sourdough bread at home, even if you have never baked a sourdough loaf before.
Ingredients
- 1 cup active sourdough starter, fed and bubbly, at peak activity
- 3/4 cup warm water, around 80 degrees F
- 3 cups bread flour, plus more for dusting
- 1 1/2 tsp fine sea salt
- 1 tbsp honey, or granulated sugar
- 1 tbsp unsalted butter, softened, or substitute olive oil
Instruction
Feed your sourdough starter 4 to 8 hours before baking. It should be bubbly, active, and at its peak rise before you begin.
Add the ingredients to the bread machine pan in the order recommended by your machine's manufacturer. Typically liquids go first: pour in the warm water and sourdough starter, then add the honey and butter.
Spoon the bread flour on top of the liquids, then sprinkle the salt over the flour, keeping it away from the liquid so it does not inhibit the starter.
Select the Dough cycle on your bread machine. Allow the machine to mix and knead the dough fully. This usually takes about 20 to 30 minutes.
Once the Dough cycle ends, check the dough. It should be smooth, slightly tacky, and pulling away from the sides of the pan. If it is too sticky, add flour one tablespoon at a time.
Leave the dough in the bread machine pan and allow it to bulk ferment for 4 to 8 hours at room temperature, or until it has grown by about 50 to 75 percent. Fermentation time depends on the temperature of your kitchen and the strength of your starter.
Once the dough has fermented, transfer it to a lightly floured surface. Gently shape it into a round boule or an oval batard, depending on your preferred loaf shape.
Place the shaped dough into a lightly greased loaf pan or a proofing basket (banneton). Cover loosely with plastic wrap or a damp towel and let it proof for 1 to 2 hours at room temperature, or refrigerate overnight for a more developed, tangy flavor.
When ready to bake, preheat your oven to 450 degrees F (232 degrees C). If you have a Dutch oven, place it inside the oven while it preheats for the best crust.
Score the top of the loaf with a sharp lame or bread knife, making one confident slash about 0.5 inches deep.
If using a Dutch oven, carefully lower the dough into the hot pot, cover with the lid, and bake for 20 minutes. Remove the lid and bake for another 20 to 25 minutes until the crust is deep golden brown.
If baking in a loaf pan, bake uncovered at 450 degrees F for 35 to 40 minutes until the internal temperature reads 200 to 210 degrees F (93 to 99 degrees C).
Remove the loaf from the oven and cool on a wire rack for at least 1 hour before slicing. Cutting too soon will result in a gummy crumb.
Equipment
- Bread machine with a Dough cycle
- Large mixing bowl
- Bench scraper
- Proofing basket (banneton) or 9x5 loaf pan
- Dutch oven (highly recommended for best crust)
- Bread lame or sharp serrated knife
- Instant-read thermometer
- Wire cooling rack
Notes
Serving, Storing, and Making It Your Own
Fresh sourdough straight from the oven is one of life's great pleasures. Let it cool for at least one full hour before slicing. Cutting too early releases the steam trapped inside and turns that beautiful open crumb gummy.
Serve it with:
- Good salted butter and flaky sea salt
- Avocado, a fried egg, and chili flakes for a hearty breakfast toast
- Torn alongside a bowl of tomato soup or French onion soup
- As the base for an open-faced sandwich with ricotta, honey, and fresh thyme
Variations Worth Trying
Once you are confident with the base recipe, try these easy twists:
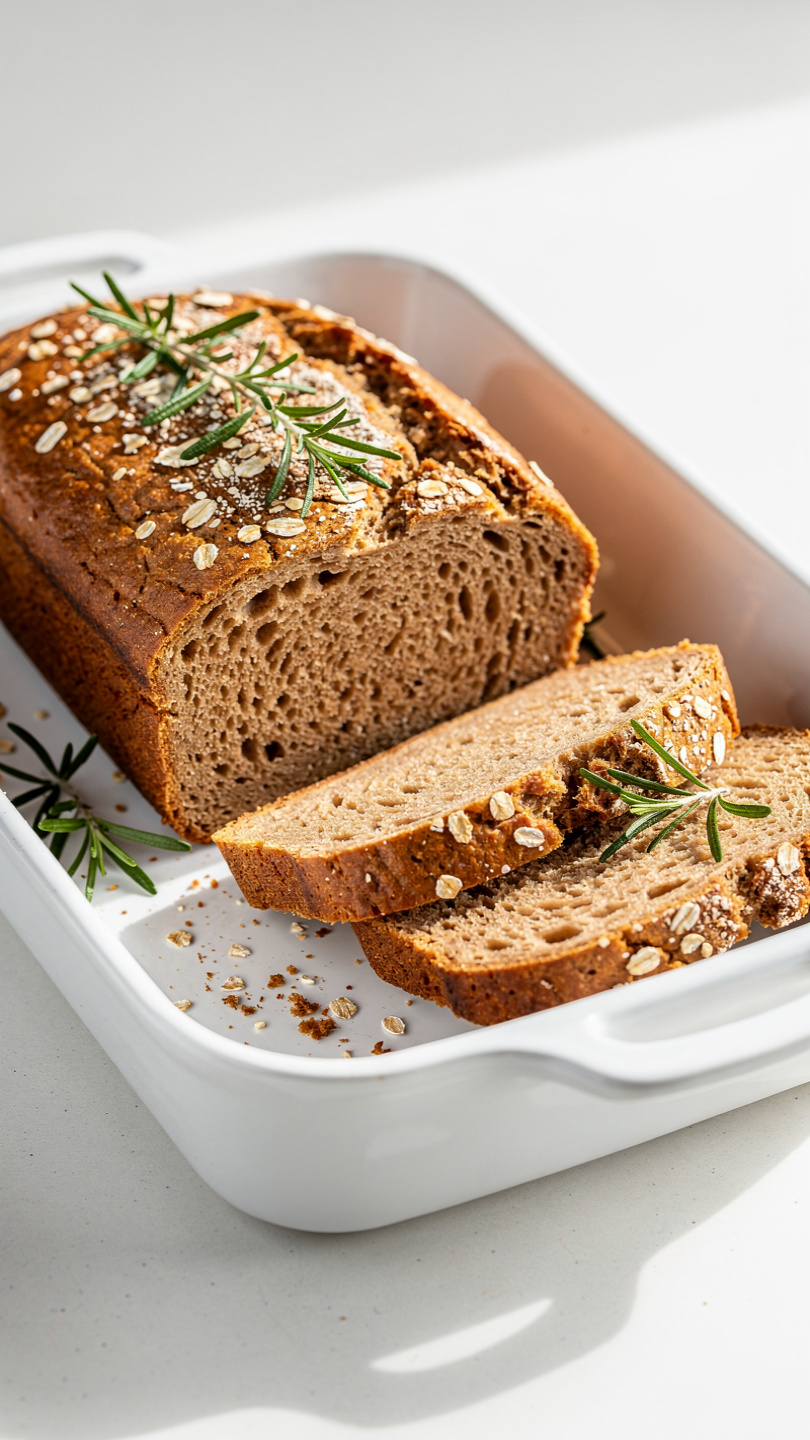
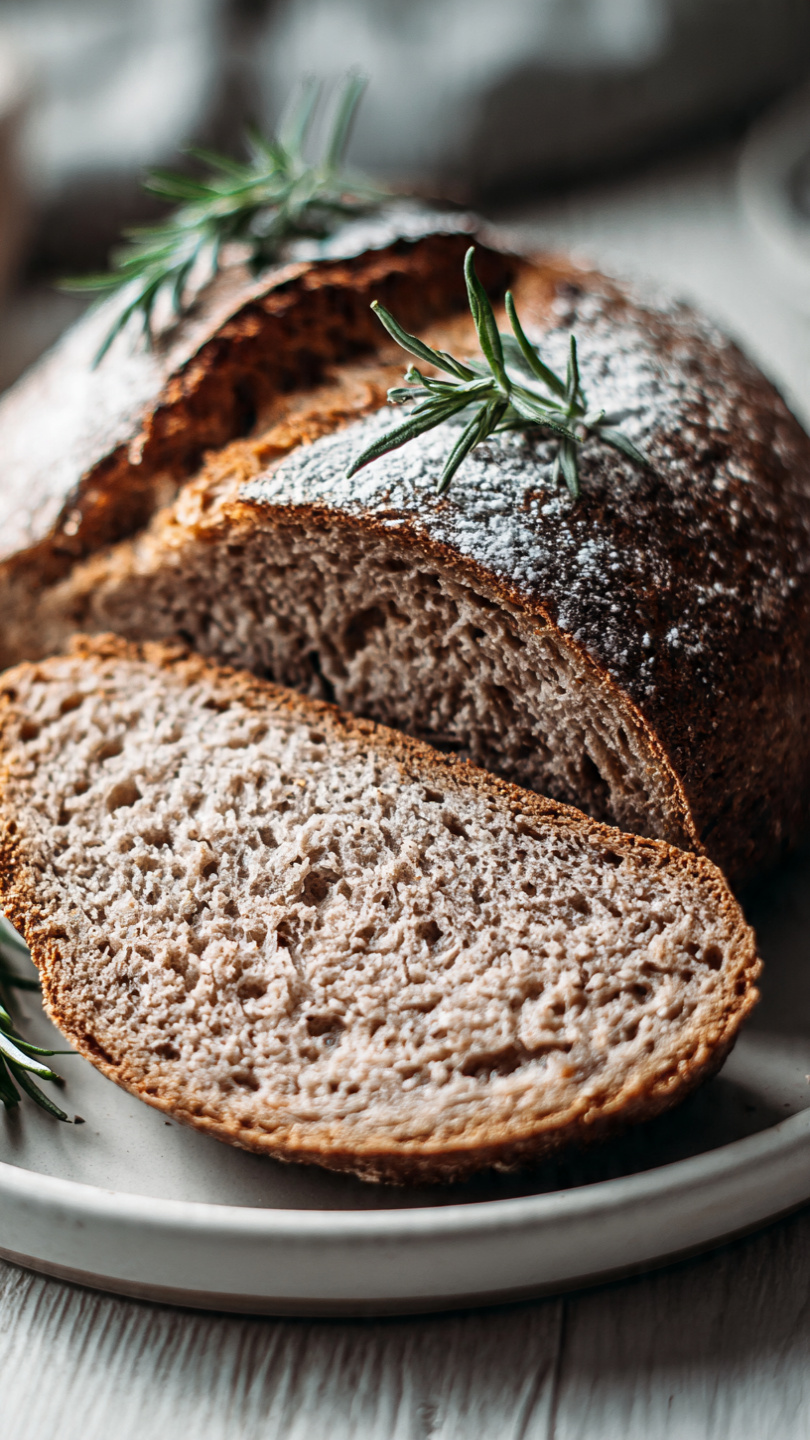
- Rosemary and sea salt: Add 1 tablespoon of fresh chopped rosemary and a pinch of flaky salt to the top just before scoring
- Whole wheat sourdough: Swap 0.5 cup of bread flour for whole wheat flour for a nuttier, earthier loaf
- Seeded crust: Roll the shaped dough in sesame seeds, sunflower seeds, or everything bagel seasoning before proofing
Storage Note: Never store sourdough in plastic wrap if you want to preserve the crust. A cotton bread bag or a paper bag wrapped loosely keeps it crisp on the outside and soft on the inside for up to 3 days.
Learning how to start sourdough does not have to mean months of failed loaves and floury frustration. With a bread machine handling the hardest part and a reliable method guiding you through fermentation and baking, your first genuinely impressive sourdough loaf is closer than you think.