Sourdough Bread Starter: How to Make Your Own from Scratch
Learn how to make a sourdough bread starter from scratch with just flour and water. This foolproof homemade starter is the foundation for every chewy, tangy loaf you will ever bake.

The Living Ingredient That Makes Sourdough Magic Happen
Before there were commercial yeast packets lining grocery store shelves, there was the sourdough starter. A bubbling, tangy, alive mixture of flour and water that bakers have kept going for centuries. If you have ever wondered how to make a sourdough bread starter from scratch, you are in the right place. This is not intimidating chemistry. It is one of the most rewarding kitchen projects you will ever take on, and it starts with just two ingredients.
Your homemade starter is the foundation for every loaf of crusty, chewy, deeply flavored sourdough you will ever bake. Once you understand how it works, you will never go back to instant yeast for bread.
What Is a Sourdough Starter, Really?
A sourdough starter, sometimes called a sour dough starter, a levain, or simply a culture, is a fermented mixture of flour and water that contains wild yeast and lactic acid bacteria. These microorganisms are naturally present in flour and in the air around you. When you give them a warm environment and regular feedings of fresh flour, they multiply, produce carbon dioxide (which leavens your bread), and generate the organic acids that give sourdough its signature tang.
Think of your starter as a low-maintenance pet. Feed it, keep it warm, and it will reward you endlessly.
The Science Behind the Sourness
There are two main types of bacteria doing the work in a healthy sourdough starter:
- Lactobacillus bacteria produce lactic acid and acetic acid, which create the sour flavor.
- Wild yeasts (primarily Saccharomyces cerevisiae and related strains) produce carbon dioxide to leaven the bread.
The balance between these two determines whether your bread is mildly tangy or boldly sour. Cooler fermentation temperatures and longer rise times produce more acetic acid, which is sharper. Warmer temperatures and shorter rises lean milky and mild.
What You Need to Make a Homemade Starter
The beauty of learning how to make sourdough starter is the minimal shopping list. You need:
- Flour: Unbleached all-purpose is the workhorse here. Adding a small amount of whole wheat flour on Day 1 gives the wild yeast a head start because the bran is rich with naturally occurring microorganisms.
- Water: Filtered water or tap water left in an open container overnight works best. Chlorine in municipal water can slow or inhibit fermentation, so this small step matters more than most people realize.
- A jar: A wide-mouth glass jar lets you watch the activity and clean it easily. Nothing fancy required.
The right tools genuinely make this process easier to track and maintain, from a reliable kitchen scale to a quality glass jar that lets you see the rise.
Day-by-Day: How to Make Sourdough Starter
Here is what to expect across the seven-day process when you are learning how to make starter for sourdough bread. Think of each day as a small act of feeding and observation.
Days 1 to 2: You are just mixing and waiting. Do not panic if nothing happens on Day 1. The microorganisms are just getting oriented. By Day 2, look for even one or two tiny bubbles. That is life.
Days 3 to 4: This is where things get interesting and sometimes a little alarming. Your starter may smell funky, almost like gym socks or cheese. That is completely normal. It means certain bacteria are active and the wild yeast is just starting to outcompete them.
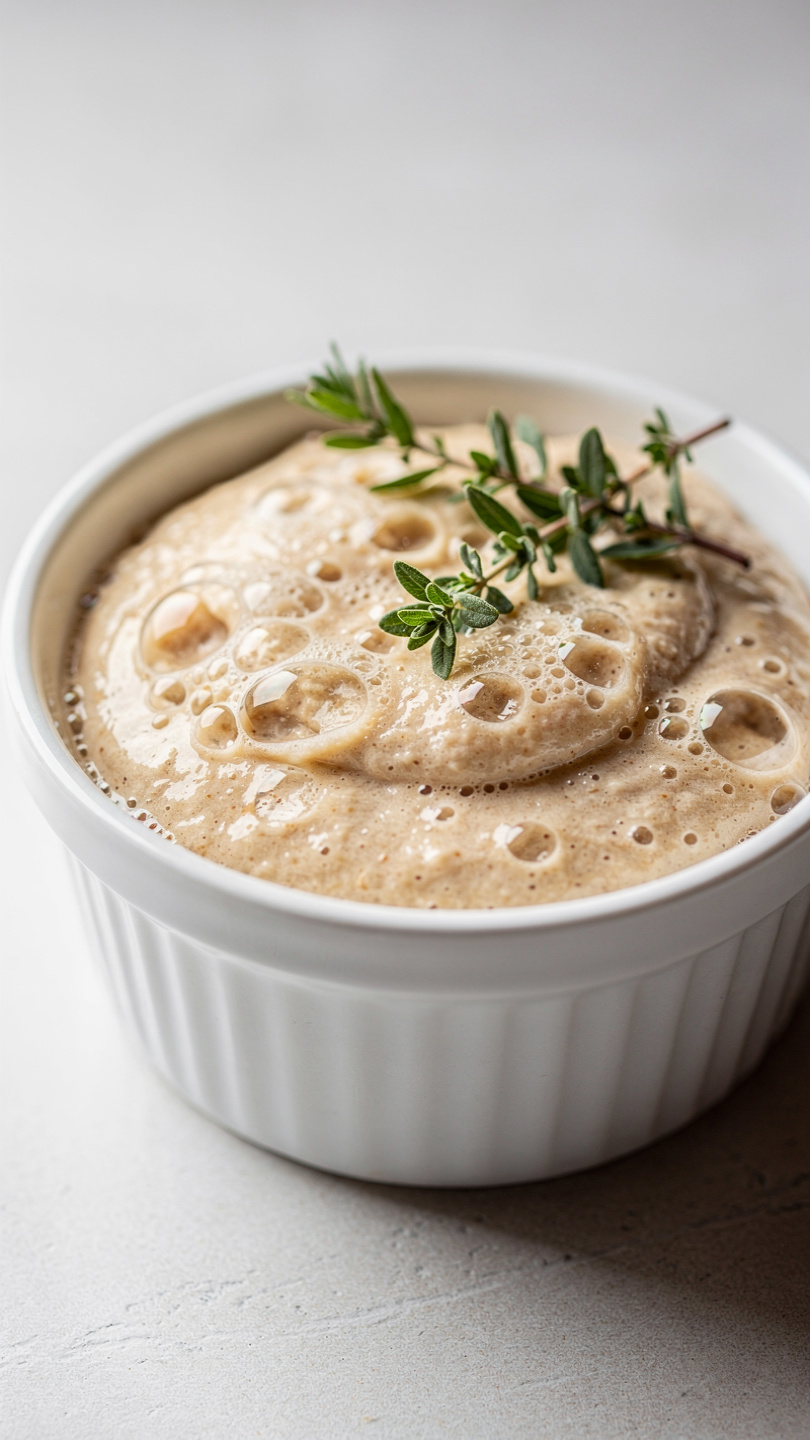
Days 5 to 7: The smell shifts. The bubbles multiply. You will start to see the starter rise and fall predictably between feedings. By Day 7, a young starter for sourdough bread should pass the float test and be ready to bake with.
Chef's Tip: Consistency is everything during the first week. Try to feed your starter at the same time each day and keep it in a spot where the temperature stays between 70 and 75 degrees F. Fluctuating temperatures are the number one reason young starters stall out.
Troubleshooting Your Young Sourdough Starter
If you are following instructions on how to make sourdough starter for the first time, a few bumps along the way are completely normal.
- No bubbles after 3 days: Try moving the jar to a warmer spot, like on top of the refrigerator or near (not on) a warm appliance.
- Funky or unpleasant smell: Totally fine in the early days. Keep feeding consistently.
- Pink or orange streaks: Discard the batch and start over. This indicates contamination.
- Hooch (dark liquid layer): Your starter is hungry. Pour it off and feed immediately, then adjust your feeding schedule.
Practically every baker who figures out how to make sourdough starter as a beginner has a story about thinking it was dead on Day 4. Nine times out of ten, it just needed one more feeding.
Ready to build your own living culture? Here is the full breakdown:
Sourdough Bread Starter: How to Make Your Own from Scratch
Learn how to make a sourdough bread starter from scratch with just flour and water. This foolproof homemade starter is the foundation for every chewy, tangy loaf you will ever bake.
Ingredients
- 1/4 cup whole wheat flour, for Day 1 only; helps kickstart fermentation
- 2 cups all-purpose flour, unbleached preferred; used for ongoing feedings
- 2 cups room temperature water, filtered or left out overnight to off-gas chlorine; chlorinated tap water can inhibit fermentation
Instruction
Day 1: In a clean glass jar (at least 1-quart capacity), combine 0.25 cup (30g) whole wheat flour with 0.25 cup (60ml) room temperature water. Stir vigorously until no dry flour remains and the mixture looks like a thick paste. Loosely cover with a cloth or loose lid and leave at room temperature (ideally 70 to 75 degrees F / 21 to 24 degrees C) for 24 hours.
Day 2: Check for any small bubbles, which is a sign of life starting. Discard half the starter (about 0.25 cup). Add 0.25 cup (30g) all-purpose flour and 0.25 cup (60ml) water. Stir well, cover loosely, and rest for another 24 hours.
Days 3 and 4: Repeat the same process: discard half, feed with 0.25 cup flour and 0.25 cup water. By Day 3 you should see more consistent bubbling and a mildly tangy or yeasty smell is developing.
Days 5 and 6: Your starter should now be visibly active with a domed top and a bubbly, webby texture throughout. Continue the once-daily discard-and-feed routine. The smell should shift from funky to pleasantly sour and yeasty.
Day 7: Perform the float test. Drop a small spoonful of starter into a glass of water. If it floats, your sourdough bread starter is active and ready to use. If it sinks, give it one or two more feedings and test again.
To maintain your starter long-term, feed it once a day at room temperature if you bake often, or store it in the fridge and feed it once a week if you bake occasionally. Always feed with equal weights of flour and water for best results.
Equipment
- 1-quart glass jar (or larger)
- Kitchen scale (recommended)
- Rubber spatula or wooden spoon
- Loose cloth or paper towel and a rubber band
- Small bowl for discard
Notes
What to Do With Sourdough Discard
One of the most common questions from new bakers learning how to start a sour dough starter is what to do with all that discard. The answer: use it. Sourdough discard adds incredible flavor to:
- Pancakes and waffles (tangy, fluffy, and far more interesting than the boxed stuff)
- Pizza dough (a weekend game-changer)
- Crackers (thin, crisp, and perfect with cheese)
- Quick breads and muffins
Discard does not have enough active yeast to leaven a full loaf on its own, but it is flavor gold. Keep a separate discard container in the fridge and add to it with each feeding.
Storing and Maintaining Your Starter Long-Term
Once your starter is established and passing the float test, you have two paths:
- Room temperature: Feed once a day if you bake multiple times per week.
- Refrigerator: Feed once a week if you bake less often. Pull it out the night before you plan to bake, feed it, and let it peak at room temperature before using.
A healthy, well-maintained homemade sourdough starter can last a lifetime. Many bakers have starters that are decades old, passed down through families and shared with friends. Once you make yours, you become part of that tradition.